Key Takeaways
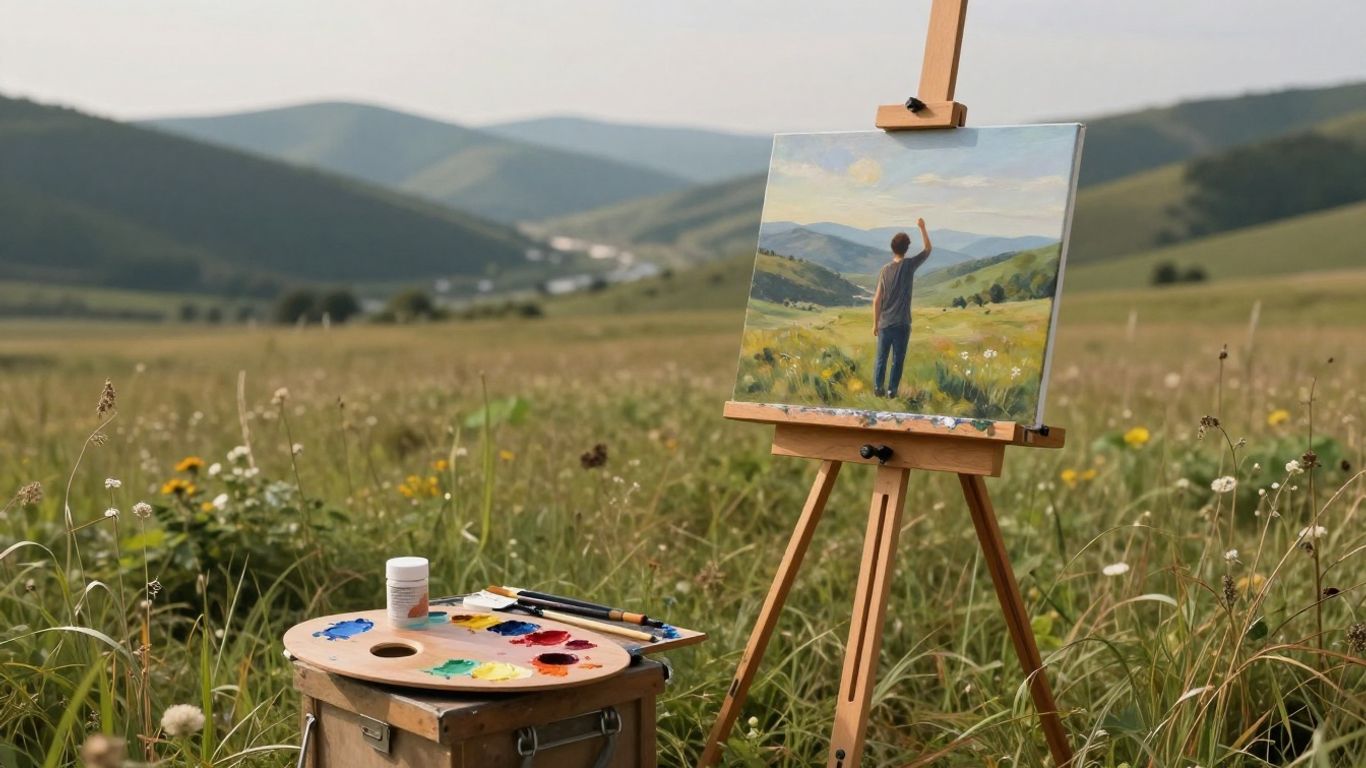
Beginning your artistic journey with nature involves more than just picking up a brush; it is about observing the subtle movements of the world around you. By understanding your materials, composition, and light, you can translate the spirit of the outdoors onto your canvas.
- Master the handling of various painting mediums to find your unique artistic voice.
- Use composition techniques like the rule of thirds to anchor your subject matter firmly.
- Observe the changing color temperatures throughout the day to create authentic lighting effects.
- Integrate atmospheric perspective to pull the eye deep into your landscape scenes.
- Practice outdoor painting logistics to prepare for the unpredictable elements of nature.
Choosing your medium for the painting of landscape
Selecting the right paint is a personal decision that shapes your entire approach to landscape art. Whether you choose the slow-drying nature of oils, the quick versatility of acrylics, or the delicate transparency of watercolors, your choice determines how you manage your workspace. Many artists find essential acrylic landscape painting techniques to be a rewarding starting point for beginners as they learn to navigate the complexities of color and surface application.
Essential differences between oils, acrylics, and watercolors
Oil paints are prized for their long drying times, which allow for extensive blending and the layering of subtle glazes. Acrylics offer a faster workflow, enabling artists to build layers rapidly and apply thick texture with ease. Watercolors provide a unique, ethereal quality, relying on the luminosity of the underlying white paper to create depth and brightness in your sketches.
Selecting high-quality brushes for natural textures
Natural textures require a variety of brush shapes to capture the rough jaggedness of rocks or the softness of distant clouds. Investing in a small set of high-quality hog hair or synthetic blend brushes can make a world of difference. Proper brush care ensures that you retain the responsiveness needed for realistic forest details.
Understanding how medium choice impacts your studio workflow
Your chosen medium dictates the pace and environment of your studio. Oils require ventilation systems and specific chemical solvents, whereas water-based mediums like acrylics or watercolors allow for a cleaner, more straightforward setup. Aligning your workflow with your environment ensures you keep a consistent creative rhythm throughout your sessions.
Mastering composition in landscape art

Composition acts as the skeletal framework for your piece, determining how the viewer interacts with the scene. A well-constructed painting balances multiple focal points, leading the eye on a journey through the canvas. Understanding the structural hierarchy of your piece is essential when you embark on your landscape painting journey and start organizing your visual elements.
Applying the rule of thirds to natural horizons
Placing your horizon line along the top or bottom third of the canvas creates a more dynamic image than centering it. This simple technique shifts interest toward the sky or the landscape, establishing a clear intent for the viewer. By avoiding the dead center, you invite the observer to explore the varied details of the terrain or the atmospheric qualities of the heavens.
Creating depth with foreground, middle ground, and background
Building a sense of space requires a deliberate distribution of elements across three distinct layers. When you utilize the following organizational strategies, your flat canvas starts to feel like a window into another world:
- Clearly define local color in your foreground figures.
- Use smaller, less detailed shapes in the middle ground to suggest distance.
- Desaturate colors significantly in the background to simulate atmospheric distance.
- Overlap objects in the foreground to increase the perceived depth.
Properly placing these elements allows you to guide the eye deeper where you can effectively utilize tools like the Chicken Road App to track your progress and log your daily creative habits. This structured approach helps ensure you don’t lose track of your developing painting techniques.
Managing focal points to guide the viewer’s eye
Every great painting needs a logical place for the eye to rest first. You can establish this point through higher contrast, brighter colors, or clearer edges compared to the rest of the scene. Consider how Oli6Goat helps provide a structured routine when creating a stable plan, as similar organizational tactics can assist you in timing your focus for the most effective artistic impact.
Capturing light and shadow effectively
Managing light is the core challenge of any landscape painter, as sunlight is rarely static throughout the day. By carefully observing these shifts, you gain the ability to breathe life into your work. Maintaining a high level of control over your light source will help you understand the evolution of landscape painting from classical settings to your own modern interpretation.
Recognizing the time of day and its impact on color temperature
Morning light often leans toward cool, soft blues and purples, while the golden hour brings out warmer, saturated tones. These subtle shifts can change the entire mood of your image. Keeping a reference table can aid in identifying these shifts consistently throughout your painting practice.
| Time of Day | Primary Color Bias | Lighting Effect |
|---|---|---|
| Early Morning | Cool / Pale Blue | High Diffusion |
| Midday Sun | Yellow / Neutral | Strong Shadows |
| Golden Hour | Orange / Amber | Long Soft Shadows |
Referencing these shifts will help you maintain consistency across your artwork as the day progresses.
Utilizing tonal values to establish form and dimension
Values are the darks and lights that reveal the shape of a rock or the volume of a tree. If your values are correct, the color can be almost anything and the painting will still look believable. Prioritizing value structure over local color allows you to maintain integrity when you utilize the services of a futures prop firm to scale your creative investments if you pursue art as a professional trade.
Painting reflected light on water surfaces and sky reflections
Water acts as a mirror that softens the world above it. Understanding how to capture the ripple and the color shift of reflected light will elevate your water scenes dramatically. Look for the way the sky’s luminosity bleeds into the surface of the pond or river.
Color theory for natural environments

Mixing colors for the outdoors requires mastering the subtle variations found in nature. Many beginners stumble by using highly saturated "tube greens," when they should instead look to the earth tones and yellows for more natural outcomes. By studying the natural palette, you can see how light interacts with grass, foliage, and stone.
Mixing realistic greens for foliage and grass
Most vibrant greens in nature come from a mix of yellows and blues, occasionally tempered with a touch of red to neutralize them. You will find that adding a small amount of raw umber to your green mixtures leads to a much more believable and earthly result than using straight paint.
Using atmospheric perspective to indicate distance
As objects push back into the distance, they lose detail and their color shifts toward the color of the ambient sky. This phenomenon is a fundamental tool for artists seeking to add scale to their work. Use these subtle gradients shift your painting from a flat, localized subject to a grand, endless vista.
Balancing warm and cool colors in rocky landscapes
Rocks are rarely just gray; they are filled with hidden warmth and reflected coolness. Look for the interplay of sun-drenched warm edges against deep, cool shadows. This balance provides the necessary tension that makes a rock formation look solid and weathered.
Essential techniques for painting textures
Texture adds a tactile quality to your art, inviting the viewer to imagine the roughness of bark or the cold touch of mountain stone. By applying paint with intention, you create a surface that transcends simple pigment.
Creating soft edges for distant mountains and clouds
Soft edges occur where light fades gradually. Use a clean, dry brush to lightly pat and pull your paint across the canvas to dissolve harsh lines. This mimics the way the atmosphere physically obscures our vision at long distances.
Using palette knives for rocks and tree bark
Palette knives are perfect for adding literal relief to your painting. Apply your paint in thick, jagged strokes to simulate the rugged character of stone and old wood. The tool itself forces you to avoid over-blending, keeping your marks fresh and crisp.
Stippling and dry brushing for realistic forest details
Dry brushing involves using very little paint on a stiff brush, dragged quickly over a textured surface to leave broken, painterly marks. This is an ideal way to suggest highlights on branches or light filtering through dense leaves without getting bogged down in individual strokes.
Setting up for outdoor painting
Packing for the outdoors requires a balance between mobility and having the right tools for the job. You want to ensure you have everything you need to act quickly, as light is a fleeing subject. Being prepared for the elements is a mark of a dedicated painter.
Essential plein air gear and portable easels
Keep your kit light. A compact tripod-style easel and a simplified palette of colors will serve you better than an elaborate, heavy setup. Remember to bring a bag for your used paper towels and waste to maintain a clean outdoor space.
Dealing with rapidly changing weather conditions
Weather is your most unpredictable studio assistant. When the wind picks up or the rain threatens, having a plan to cover your canvas and pack up quickly is vital. Treat the arrival of a sudden storm as an opportunity to observe the dramatic shift in local light rather than just a setback.
Managing sunlight glare while painting on location
Sunlight on the canvas can wash out your colors, making it difficult to judge value. Use a light-colored umbrella to shade your easel, ensuring the light reaching your canvas matches the light you observe on your subject. Maintaining this neutral zone is the secret to accurate outdoor work.
Conclusion
Painting the landscape is a continuous process of discovery, where each canvas serves as a new opportunity to learn from the natural world. By refining your understanding of composition, light, and medium application, you are not just capturing a view but translating your personal experience of the outdoors into a lasting artistic statement. Stay observant, keep experimenting with your tools, and trust that every stroke brings you closer to mastering this rewarding artistic discipline.
Frequently Asked Questions
What is the best medium for beginners to choose?
Acrylics are often recommended for beginners because they dry quickly, are easy to clean with water, and allow for mistakes to be corrected easily with an additional layer of paint.
How can I make my landscape paintings look more realistic?
Focus on observing the actual colors in nature rather than relying on standard colors from the tube, especially by mixing your own greens and paying attention to atmospheric shifts.
How do I handle painting in direct sunlight?
Use an umbrella to shade your workstation and ensure your eyes remain adjusted to the ambient light, preventing the sun’s glare from misrepresenting your paint colors.
Are expensive brushes necessary for landscape art?
While you do not need the most expensive tools, investing in a few good-quality brushes that hold their shape will make the process easier and your marks more deliberate.
What is atmospheric perspective?
It is the technique of using color and value changes to simulate the effect of the atmosphere on distant objects, typically by making them lighter and cooler as they recede.
How do I decide where to place my horizon line?
Avoid placing it exactly in the center; instead, aim for the top or bottom third to emphasize either the expansive sky or the complex foreground terrain.
How long should I spend preparing before I start painting?
Spend enough time to carefully observe your subject, sketch out the rough composition, and organize your palette so you can paint with confidence once you begin.


Leave a Reply