Who knew Microsoft Paint could still be a thing in 2026? I mean, it’s been around forever, right? But it turns out, this old-school program has gotten some serious upgrades. We’re talking AI tools and features that actually make it useful for digital art and design. If you thought Paint was just for drawing lopsided stick figures, think again. It’s time to look at this program with fresh eyes and see what it can really do.
Key Takeaways
- Microsoft Paint now includes AI-powered tools like Image Creator to help generate art from text prompts.
- New features such as Background Removal and Layers make image editing and manipulation much easier.
- The classic drawing tools like Pencil, Brush, and Fill With Color are still available for freehand creation.
- Shapes, Text, and Eraser tools allow for basic graphic design elements and corrections.
- Selection tools are vital for isolating parts of an image for editing or moving.
1. Image Creator
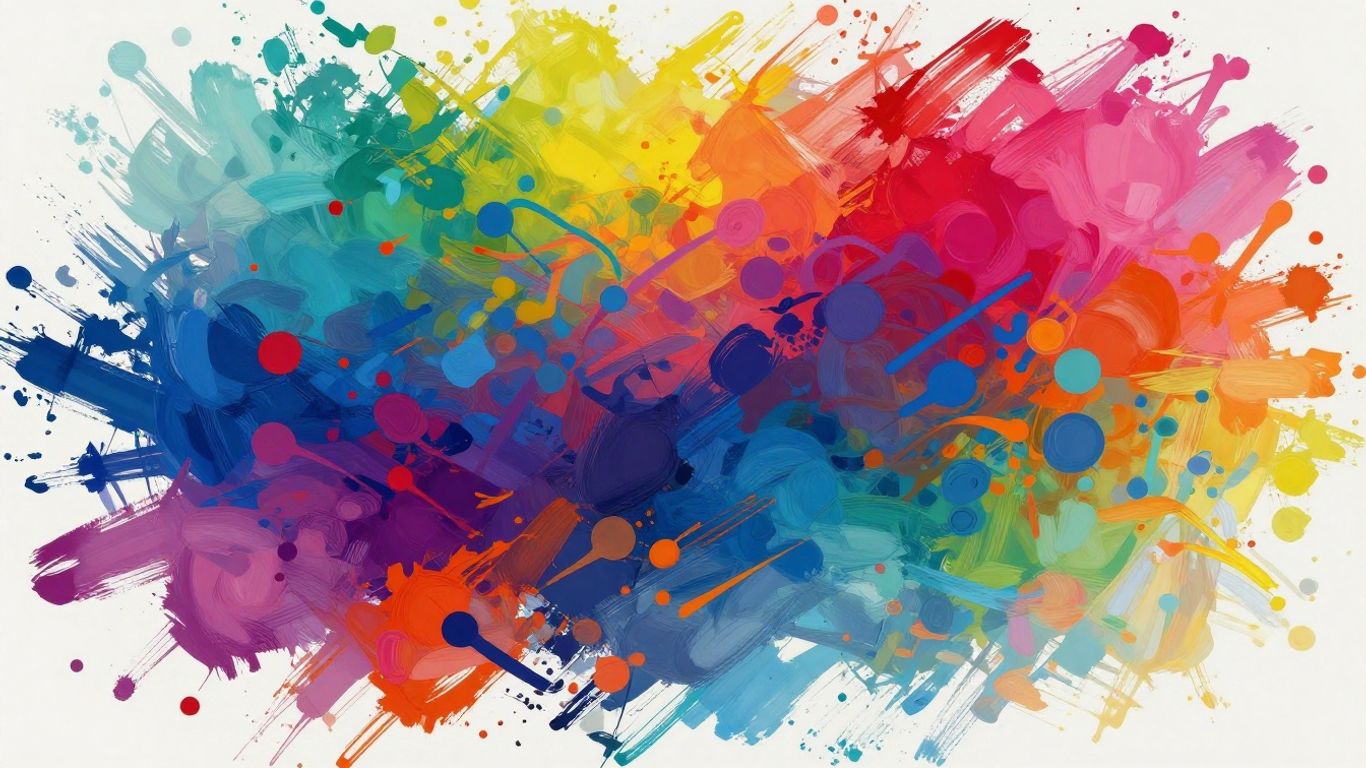
Microsoft Paint has a new trick up its sleeve for 2026: the Image Creator. This feature is basically your AI art assistant, built right into the familiar Paint interface. It’s designed to help you generate images from text prompts, making digital art creation more accessible than ever.
Getting started is pretty straightforward. You type in what you want to see, pick a visual style that fits your idea, and then let the AI do its thing. It’s a neat way to get some initial concepts or even fully formed images without needing complex software. Think of it as a brainstorming partner that can instantly visualize your thoughts.
Here’s a quick rundown of how it works:
- Prompt: Describe the image you want. Be as detailed or as simple as you like.
- Style: Choose from various artistic styles to give your image a specific look and feel.
- Create: Hit the button and watch your idea come to life.
When you first start using the Image Creator, you get a set number of credits to play around with. It’s a good way to experiment and see what kind of results you can get. This tool is part of the latest Windows 11 updates, so if you’re running that, you should have access to it. It’s a really interesting addition to Microsoft Paint, especially for those who might not have a lot of drawing experience but want to create unique visuals.
The Image Creator is a powerful addition for anyone looking to quickly visualize ideas or generate unique graphics. It takes the guesswork out of creating initial concepts and provides a fun, interactive way to explore visual possibilities.
While Paint has always been a go-to for basic image editing, this AI integration really pushes it into new territory for digital art. It’s not meant to replace professional tools, but it’s a fantastic starting point for many creative projects.
2. Background Removal

Sometimes you just want to isolate a subject from its original setting, right? Microsoft Paint has gotten pretty good at this. It’s a game-changer for compositing images or creating transparent elements.
For a while now, Paint has had tools that let you manually select and cut out parts of an image. It takes a bit of patience, especially with fuzzy edges like hair, but it works. You can use the selection tools to draw around your subject, copy it, and then paste it onto a new canvas. If you’re working with a newer version of Windows, you might even have access to more advanced features that can automate some of this process. Microsoft has been looking into making this even easier, with reports of new AI-powered tools coming to Paint that could make background removal a one-click affair. This is a big step up from older versions where you’d spend ages trying to get a clean cut.
Here’s a basic rundown of how you might approach it:
- Use the Lasso Tool: This is your best friend for freehand selections. Carefully trace around the object you want to keep.
- Refine the Selection: Zoom in close. You might need to use the ‘Add to selection’ or ‘Subtract from selection’ options to clean up the edges.
- Copy and Paste: Once you’re happy, copy your selection and paste it onto a new, blank canvas. This new canvas will have a transparent background by default if you’re using certain methods or newer versions.
- Save Appropriately: To keep the transparency, you’ll usually need to save your image as a PNG file. JPEGs don’t support transparency.
Getting a clean background removal can be tricky, especially with complex images. Don’t get discouraged if your first few attempts aren’t perfect. Practice makes perfect, and with the right tools and a bit of patience, you can achieve some really professional-looking results. It’s amazing what you can do with a program that’s been around for ages but keeps getting updated.
If you’re using Paint 3D, there are specific guides available that walk you through making backgrounds invisible, which is a great way to get started with this feature. It’s really neat how these everyday tools are getting more powerful.
3. Layers

Back in the day, Paint was pretty basic—think those simple tools at the top and maybe one or two things you could undo if you were lucky. Now, Layers in Microsoft Paint totally change the game. Layers let you split your drawing into separate pieces, so editing and experimenting don’t ruin your whole picture.
Here’s how working with layers can totally change your workflow:
- You can sketch out your design on one layer, then add color or shapes on another, always keeping your original safe.
- Mistakes? Just erase them on one layer, without worrying about wrecking your background or other work.
- Easily reorder, hide, or merge layers, which is a relief if you want to tweak things later without starting from scratch.
A quick look at what artists do with layers:
| Layer Name | Common Use |
|---|---|
| Background | Basic color washes or simple scenes |
| Sketch/Outline | Initial rough or precise linework |
| Color/Base | Filling shapes with flat colors |
| Shadows/Effects | Adding depth or dramatic touches |
| Text/Details | Writing or highlighting features |
Layers aren’t just for professionals. Beginners can tackle more ambitious projects by taking them one step at a time, and it helps a lot if you’re switching from classic Paint to one of the other programs (see this comparison of Paint and Paint 3D why Microsoft switched things up).
Once you get familiar with layering, there’s a real freedom to try out wild ideas, mess up, then fix just that part. It keeps things simple and takes a lot of pressure off finishing everything perfectly in one go.
4. Pencil
The humble pencil tool in Microsoft Paint is more than just a basic drawing implement; it’s your go-to for fine detail and sketching. Think of it as the digital equivalent of a traditional graphite pencil, perfect for laying down initial ideas or adding delicate lines to your work. Unlike the brush tool, the pencil produces a crisp, hard-edged line that doesn’t blend or soften. This makes it ideal for creating sharp outlines, intricate patterns, or even for pixel art if you zoom in close enough.
When you select the pencil, you’ll notice it has a fixed diameter, unlike the brush which can have varied textures. This consistency is its strength. You can adjust the thickness of the pencil line, just like with other drawing tools, which is pretty handy for adding emphasis or creating different visual weights in your design. This ability to control line size is a small but important detail for making your art pop.
Here’s a quick rundown of what makes the pencil tool so useful:
- Precision: Great for small details and sharp edges.
- Control: Offers a consistent line that’s easy to manage.
- Sketching: Perfect for rough drafts and initial concepts before committing to color.
- Pixel Art: With sufficient zoom, it’s surprisingly effective for creating pixel-perfect graphics.
It’s easy to overlook the pencil tool when there are fancier brushes available, but don’t underestimate its power for clean, defined linework. It’s a solid choice for anyone looking to get precise results without a lot of fuss. For those interested in the nuances of line work, understanding how adjusting line size impacts your overall piece is key.
Sometimes, the simplest tools are the most effective. The pencil in Paint might seem basic, but its straightforward nature allows for a level of control that can be surprisingly powerful for detailed work. It’s all about knowing when to use it.
5. Brush
The Brush tool in Microsoft Paint has grown a lot these past couple of years. You can now do way more than just basic doodling—it’s actually a solid choice for digital painting. The brush options feel more like what you’d expect from fancier art programs, but everything stays simple enough that you don’t get lost in features you’ll never use.
Here are a few practical things you can do with the brush in Paint:
- Choose from several brush types, like marker, watercolor, or oil, each with its own look and feel.
- Adjust the brush size easily, so you can switch between super-thin lines or big, bold strokes with a slider.
- Blend colors more smoothly now, which helps when you want softer edges or cool gradient effects.
And if you make a mistake, no panic: the undo button actually works pretty well here. You don’t have to be afraid to experiment or try out new blending techniques, which is a relief if you’re mostly used to how basic Paint used to be.
Experimenting with different brush settings can take your artwork in directions you might not expect—sometimes the fun is just in seeing what happens when you mess around.
If you’re someone who’s used Paint before, you’ll probably notice some changes compared to older versions. Things like the improved blending and subtle gradients now make it possible to get results you’d only get in pro software. For a quick look at how brush tools compare across popular drawing apps, check out these advanced drawing features.
So whether you’re just sketching out ideas or trying a full digital painting, there’s more room to get creative with the Brush tool in Paint than ever before.
6. Fill With Color
The fill tool in Microsoft Paint is simple, but it can totally change the look of your digital art once you get the hang of it. It lets you quickly splash color into any closed area, making backgrounds, objects, and even stylized patterns pop. This tool’s more than just a bucket of paint—it’s a gateway to experimenting with mood, depth, and contrast in a matter of seconds.
Here are a few solid ways you can put the Fill With Color tool to use in your projects:
- Set the mood or time of day by instantly changing large background areas.
- Test out different color themes on your shapes or characters by refilling closed areas on separate layers.
- Experiment with flat versus gradient colors, especially if you quickly block out sections and want to try new combinations fast.
- Speed up the coloring process after inking your art, especially if you’re drawing with a mouse and value efficiency (for more tips, check out this advice for using the paint bucket tool in digital art creating digital art with a mouse).
If you’re stuck staring at a black-and-white line art for too long, the fill tool is your secret weapon to break through creative ruts. It’s fast, forgiving, and you can always undo a fill you don’t like.
Keep in mind—closed linework is key. Even the tiniest gap will let color spill outside your shape, so check your outlines before you fill. Play around, try out wild palettes, and let the fill tool surprise you; half the fun in Paint is seeing where your color choices take the art.
7. Shapes
Microsoft Paint comes with a set of basic shapes that are super handy for digital art. You’ve got your rectangles, squares, ellipses, circles, and triangles, plus lines and curves. These aren’t just for making simple diagrams, though. Think of them as building blocks for more complex designs. You can use a rectangle to create a building facade, or an ellipse to form the base of a character. The real magic happens when you combine and modify these basic forms.
Here’s a quick rundown of how you can use them:
- Outline Creation: Use shapes to quickly block out the main structure of your drawing. For instance, use a rectangle for a body and circles for a head and limbs.
- Pattern Generation: Duplicate and arrange shapes to create interesting textures or backgrounds. Think repeating geometric patterns.
- Composition Guides: Use shapes like the rectangle tool to define the boundaries of your canvas or to plan out the layout of elements in your design.
- Abstract Art: Don’t be afraid to just play with shapes! Overlapping, resizing, and coloring them in different ways can lead to surprisingly cool abstract pieces.
When you select a shape, you can then choose its outline style and fill. You can have no outline, a solid outline, or a filled shape with no outline. This gives you a lot of flexibility right from the start. You can even open any image file (PNG, JPG, BMP, GIF) directly with Paint by right-clicking the file and selecting "Open with > Paint." It’s a simple tool, but with a little creativity, these shapes can be the foundation for some really neat digital art.
Remember that you can also use the line tool to create custom shapes or to connect existing ones. Experimenting with different line thicknesses and colors can add a lot of character to your work.
8. Text
Adding text in Microsoft Paint shapes a big part of digital artwork, and it’s more useful than most folks give it credit for. With the text tool, you get to control everything from size and font style to color and placement. Here’s the thing: once you click away from a text box, that text becomes a fixed part of your image in Microsoft Paint on Windows 10, text became permanent as soon as the text box was deselected or another tool was used. That’s why planning exactly how and where your words appear is pretty important.
Here’s how I usually make the most out of Paint’s text tool:
- Start by creating an empty space or colored background suitable for the message.
- Select the "A" icon and click exactly where you want your words to show up.
- Tweak the font, size, and color in the text bar up top—don’t forget to check that your text is legible!
- If you need to position the box or change anything, do it before leaving the text box. Once it’s set, Paint treats words like any other pixels.
- Text blends smoothly with hand-drawn shapes and lines.
- It works as a quick way to add labels, titles, comics-style captions, or even pop art effects.
- Layering colorful text can help your illustrations look quirky and fun, even if you’re not going for anything serious.
When using Paint for flyers or fun digital posters, always finish all your text edits before using any other tool—there’s no going back!
Paint’s approach may feel old-school, but there’s a certain charm to the simplicity, especially if you want to jump in, type something bold, and get on with your project.
9. Eraser
The Eraser tool in Microsoft Paint is your go-to for tidying up mistakes or making deliberate edits. It’s pretty straightforward: just click and drag over the parts you want to remove. Don’t underestimate its power for refining your digital art.
While it might seem basic, the Eraser has a few tricks up its sleeve. You can adjust its size, just like a brush, to tackle broad areas or fine details. This flexibility is key when you’re working on something intricate.
Here’s a quick rundown of how to use it effectively:
- Select the Eraser: Find it in the toolbar, usually looking like a little rubber.
- Choose a Size: Before you start erasing, pick a size that fits the job. Smaller for precision, larger for quick cleanups.
- Click and Drag: Hold down your mouse button and move the cursor over the area you want to erase. Release the button when you’re done.
Sometimes, you might want to erase a specific shape or section without affecting the rest of your artwork. For that, you can use the selection tools in combination with the Eraser. Select the area you want to remove, then hit the delete key. It’s a neat trick for making clean cuts or removing unwanted elements quickly.
The Eraser tool is more than just a way to fix errors; it’s an integral part of the creative process. Think of it as a sculpting tool, allowing you to remove material to reveal the form underneath. Mastering its different sizes and how it interacts with other tools can really make your digital art pop.
For more on how different tools work together, you can check out this guide to digital art.
10. Selection Tools
Selection tools are what really let you move things around and piece together your art in Microsoft Paint. Being able to grab just the part of your image you want, whether it’s a strange shape or a perfect rectangle, can make reshaping and editing so much faster.
You’ve got a couple of main selection options to play with in Paint:
- The Rectangular Selection tool for quick, boxy grabs
- The Free-form Selection tool that’s more like tracing with your mouse
- Transparent selection, letting you copy only the actual drawing, not the white background
Once you’ve made a selection, these are the things you can do:
- Move it anywhere on your canvas
- Cut, copy, and paste to duplicate or rearrange
- Resize or rotate the selected area
- Flip it upside down or mirror it for fun effects
- Delete big chunks cleanly with fewer clicks than using the eraser
If you combine these tricks with advanced techniques, your editing starts to look a lot more professional. Little things, like quickly cropping or rotating your selections, can make all the difference, especially when you’re working on detailed projects. For a deeper look at drawing and editing basics in Paint, you might want to check out how essential tools work together to shape digital art essential tools for drawing.
When you get the hang of selection tools, you’ll probably spend less time worrying about mistakes and more time just playing with new ideas and layouts. It’s all about experimenting and seeing what works for the piece you’ve got in mind.
So, What’s Next?
Well, there you have it. Who knew that good old Microsoft Paint, the program we probably all messed around with as kids, could actually be a pretty decent tool for making digital art in 2026? With the new AI features and layers added in Windows 11, it’s way more capable than it used to be. It might not replace the fancy professional software for everyone, but for quick edits, fun experiments, or even just getting started without spending a fortune, Paint is definitely worth another look. So go ahead, open it up, and see what you can create. You might surprise yourself.
Frequently Asked Questions
What new features does Microsoft Paint have in 2026?
In 2026, Microsoft Paint has added cool new features like AI-powered Image Creator, Background Removal, and Layers. These tools make it easier to create, edit, and share digital art, even if you’re just starting out.
How do I open Microsoft Paint on Windows 11?
To open Paint on Windows 11, click the Start button, type “Paint” in the search bar, and press Enter. The Paint app will open and you can start making art right away.
What tools can I use in Paint for drawing?
Paint has several drawing tools, such as the Pencil for freehand lines, the Brush for painting with different styles, Fill with Color for coloring areas, Shapes for drawing things like circles and rectangles, Text for adding words, the Eraser to fix mistakes, and Selection Tools to move or change parts of your picture.
What is the difference between Paint and the Photos app?
Paint is made for creating and editing drawings, adding shapes, and making digital art. The Photos app is mostly for looking at, organizing, and making small changes to pictures. If you want to draw or design, Paint is the better choice.
Can I use Paint for professional digital art?
While Paint is simple and easy to use, it now has more powerful features like Layers and AI tools. This means you can make more complex and creative art, but some professional artists might still use other programs for advanced work.
Is Microsoft Paint free to use?
Yes, Microsoft Paint comes free with Windows. The new features, like Image Creator, also give you some free credits to try them out. You don’t have to pay extra to use the basic tools.


Leave a Reply