
Getting started with painting can feel a bit overwhelming, especially when you look at all the different brushes out there. But honestly, it’s not as complicated as it seems. Think of your brushes like your trusty sidekicks in the art world. Learning how to pick the right one and use it effectively is a big step in making your paintings look just the way you want them. We’ll break down the basics of painting with brush, from choosing your tools to making those strokes really sing.
Key Takeaways
- Understand the different brush shapes like flat, round, and filbert, and how each one creates different marks and textures.
- The size of your brush matters a lot for covering areas – bigger brushes for big spaces, smaller ones for details.
- Don’t be afraid of older, worn-out brushes; they can actually help you create more interesting textures and spontaneous strokes.
- Paint consistency is key: thick paint makes bold marks, while thin paint flows smoothly for softer effects.
- How much pressure you put on the brush changes everything, from thick, bold lines to delicate, thin ones.
Understanding Your Brush Arsenal
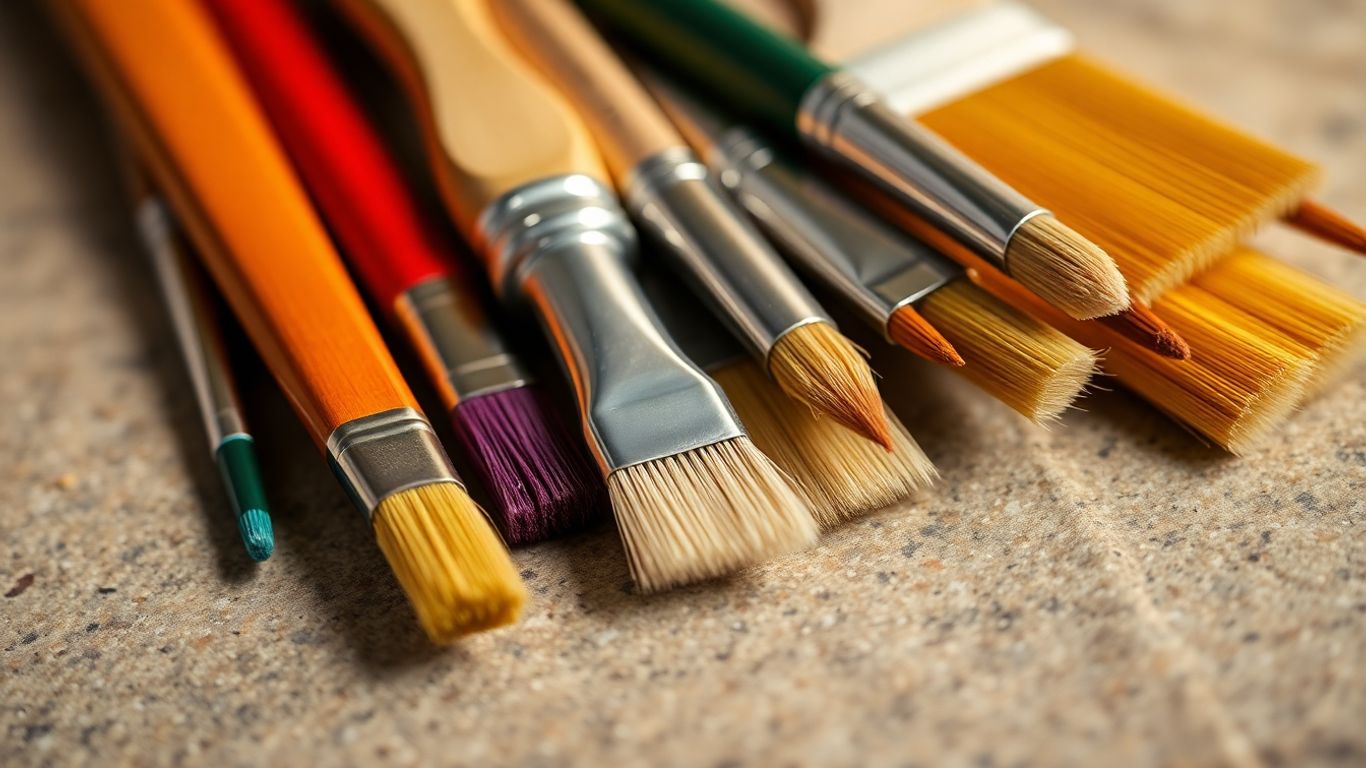
Before you even think about making a mark, let’s talk about the tools themselves: your brushes. It sounds simple, but the kind of brush you pick up really changes what you can do. It’s not just about having a brush; it’s about having the right brush for the job.
Choosing the Right Brush Shape
Brushes come in all sorts of shapes, and each one does something a little different. Flat brushes are good for making straight lines and covering big areas quickly. If you want to get into details or make softer marks, round brushes are pretty handy. Then there are filbert brushes, which are kind of a mix – they have a rounded top but are flat on the end, making them great for blending things together. Fan brushes, with their spread-out bristles, are awesome for creating textures, like grass or hair, or just a generally messy, interesting look.
- Flat Brushes: Good for sharp edges and broad strokes.
- Round Brushes: Versatile for details and lines.
- Filbert Brushes: Excellent for blending and soft transitions.
- Fan Brushes: Ideal for textures and special effects.
Selecting the Appropriate Brush Size
Once you’ve got a shape in mind, size matters. A big brush is your friend when you need to cover a lot of ground fast, like with a background wash. Smaller brushes are obviously for the finer points, the little details that bring a painting to life. It’s a good idea to have a range of sizes so you’re not stuck trying to do a tiny detail with a giant brush, or vice versa. Having a variety means you can tackle different parts of your painting without a struggle. You can find a good selection of brushes for digital art on platforms like Infinite Painter.
The Impact of Brush Age and Splay
Here’s something that might surprise you: older brushes can be just as useful, if not more so, than brand new ones. As brushes get used, their bristles soften and can get a bit splayed out. This might sound like a bad thing, but it’s often what gives you those interesting, unpredictable marks and textures that a stiff, new brush just can’t replicate. Don’t toss out those worn-out brushes; they might be exactly what you need for a looser, more expressive style. The splay, or how the bristles spread, can actually help create unique patterns in your paint.
Sometimes, the imperfections are where the magic happens. That slightly wonky, old brush might be the key to getting that textured look you’ve been trying to achieve. It’s all about how the paint interacts with those less-than-perfect bristles.
Think about it: a brand new brush is predictable. An old, splayed-out brush? That’s where the happy accidents and unique character come from. It’s a bit like embracing the wabi-sabi of art supplies – finding beauty in imperfection.
Mastering Essential Brush Strokes
Getting a handle on how to move your brush is pretty important if you want your paintings to look the way you imagine them. It’s not just about slapping paint on; it’s about how you apply it. Different strokes do different things, and knowing them can really change your work.
The Wash Stroke for Broad Coverage
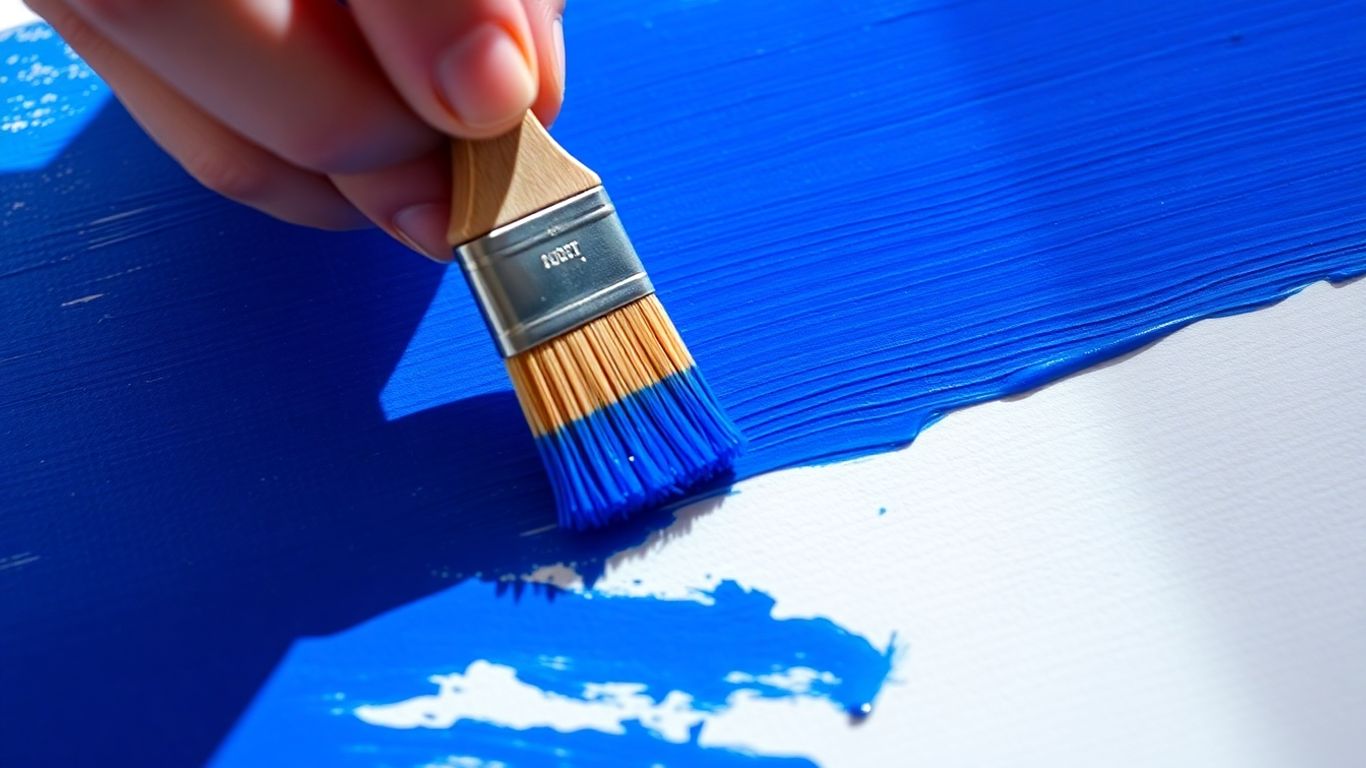
This is your go-to for covering big areas with a thin, even layer of color. Think skies, backgrounds, or large blocks of color. You’ll want to use a flat brush for this. Load it up with paint that’s been thinned down a bit with water or medium. Start at one edge and sweep across, keeping your pressure steady. Try to lift the brush cleanly at the end of the stroke to avoid hard lines where you don’t want them.
- Use a flat brush.
- Dilute your paint for a thinner consistency.
- Apply with even pressure across the area.
- Lift the brush at the end for a softer edge.
Working with a wash means you’re laying down a foundation. It’s like the first layer of plaster on a wall – it sets the stage for everything else you’ll build on top.
Creating Fine Lines with Round Brushes
For details, lettering, or those delicate little accents, a round brush is your best friend. Because the bristles come to a point, you can get a nice, thin line by using just the tip. If you press a little harder, you can make the line thicker. It takes a bit of practice to control the pressure just right, but once you get it, you can add all sorts of fine details that bring your painting to life. You can find some great tips on brush control at The Art Story.
Blending with Filbert and Fan Brushes
Filbert brushes, with their rounded shape and flat tip, are fantastic for blending colors together smoothly. You can use them to create soft transitions between different hues, making things like skies or rounded objects look more natural. Fan brushes, on the other hand, are great for texture. Their spread-out bristles can create effects like grass, hair, or wispy clouds when used with a light touch. Experimenting with how you move these brushes – whether it’s a gentle sweep or a light dabbing motion – will show you just how much variety you can get.
Exploring Advanced Painting Techniques
Once you’ve got a handle on the basics, it’s time to start playing around with some more involved methods. These techniques can really make your paintings pop and give them a professional feel. Don’t be afraid to try them out; they’re not as scary as they sound!
Layering for Depth and Dimension
Layering is all about building up your painting gradually. You apply one layer of paint, let it dry, and then add another on top. This is how you get those rich, complex colors and a sense of real depth. Think of it like building a cake – each layer adds something new. You can use different colors, or even the same color but with a slightly different tone, to create subtle shifts. Flat or filbert brushes are great for covering larger areas, while smaller round brushes let you add detail to specific spots.
Dry Brushing for Texture
This is a fun one for adding texture. You take a brush, load it with a little bit of paint, and then wipe most of it off on a paper towel until the brush feels almost dry. Then, you lightly drag this brush across your canvas. It leaves little broken lines of paint, which is perfect for things like tree bark, rough rocks, or even wispy clouds. It really makes surfaces look more realistic and interesting.
Stippling and Scumbling for Detail
Stippling involves using the tip of your brush to make small dots. You can build up areas of color or create shading just by varying the density of these dots. It takes patience, but the results can be super detailed. Scumbling is a bit more chaotic; it’s like scribbling or making small, random circular motions with your brush. This is fantastic for creating soft textures, like foliage or fuzzy surfaces. You can use almost any brush for scumbling, but a stiffer one might give you more control.
Remember, the key to these advanced techniques is practice and experimentation. Don’t get discouraged if your first attempts aren’t perfect. Each stroke is a learning opportunity, and soon you’ll be adding all sorts of cool effects to your work.
The Influence of Paint Consistency
The thickness or thinness of your paint really changes how it behaves with your brush and the canvas. It’s not just about color; it’s about how the paint flows, or doesn’t flow.
Thick Paint for Bold, Textured Strokes
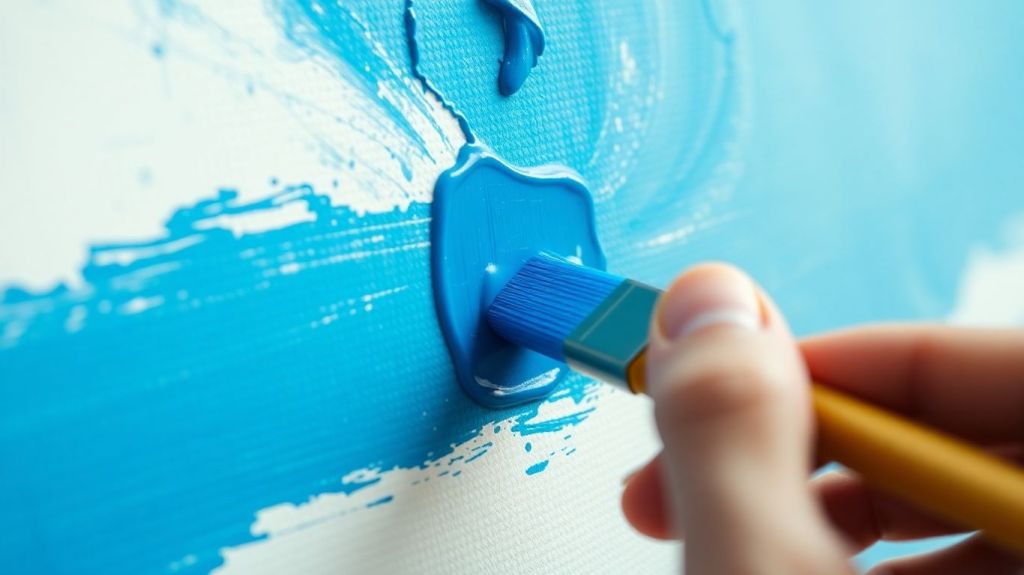
When you use paint straight from the tube, it’s thick. This is great for making really bold marks that have texture. Think of it like using a trowel instead of a tiny brush. This technique, often called impasto, lets you build up the surface of the painting. You can get these rough edges and a real sense of the paint’s physical presence. It’s a very direct way to apply color and can make your work feel energetic.
Thin Paint for Fluid Effects
On the other hand, thinning your paint with water, oil, or a special medium makes it flow much more easily. This is how you get those smooth, blended strokes that can look almost like watercolor. It’s perfect for soft transitions, subtle shading, or when you want a more airy, light feel to your painting. You can create thin, delicate lines with this consistency, too.
Mixing Colors on Canvas for Variation
Most of the time, people mix their colors on a palette before putting them on the canvas. This gives you a clean, consistent color. But if you try mixing colors right on the canvas, you get something different. As you drag your brush, the colors blend a little, creating variations within a single stroke. This can add a lot of depth and interest to your work, making each mark feel more alive. It’s a way to introduce subtle color shifts without having to be super precise.
Don’t be afraid to play around with how much you thin your paint. Sometimes, just a little bit of thinner makes a big difference in how the brush moves and how the color looks on the surface. Experimenting with different consistencies is key to finding what works for your style.
For instance, if you’re painting a sky, you might use thinner paint for soft clouds and thicker paint for the sun’s glare. Understanding how paint consistency affects your brushwork is a big step in controlling the final look of your art. You can find good quality brushes that work well with various paint consistencies at art supply stores.
Controlling Your Brushwork with Pressure
Achieving Bold Strokes with Strong Pressure
When you really push down on your brush, you’re telling the paint to make a statement. This kind of pressure lays down a thick, solid line of color. It’s fantastic for making certain parts of your painting really pop, giving them a strong presence. Think of it like using a marker instead of a pen – it’s just more impactful.
Creating Delicate Lines with Soft Pressure
On the flip side, a light touch is your friend when you want subtlety. A gentle press means less paint is applied, and the bristles might spread out a bit, creating fine, almost wispy lines. This is perfect for adding soft transitions between colors or for those tiny highlights that catch the light. It’s like whispering with your brush.
Varying Pressure for Dynamic Effects
Here’s where it gets interesting. You don’t have to stick to just one level of pressure. Try starting a stroke with a firm press and then gradually easing up as you move across the canvas. This creates a stroke that starts bold and then fades out smoothly, adding a lot of life and movement to your work. It makes the brushwork feel more natural and less robotic.
The way you hold your brush really matters too. Gripping it closer to the metal part (the ferrule) gives you more control, which is good for details. But if you hold it further back, towards the end of the handle, you naturally use less pressure and make bigger, looser marks. It’s a simple shift that can change your whole approach.
Here are a few things to try to get a feel for pressure:
- Experiment with a single stroke: Make a line that starts with heavy pressure and ends with very light pressure. See how the line changes.
- Try different brushes: A stiff brush will react differently to pressure than a soft, floppy one. Pay attention to how each one behaves.
- Focus on transitions: Practice going from a dark area to a light area using only pressure changes, without adding more paint. This helps you understand how to blend and create soft edges.
Developing Your Painting with Brush Skills
So, you’ve got a handle on the basics, which is great. But like anything worthwhile, getting really good with a paintbrush takes time and a bit of effort. It’s not just about knowing the strokes; it’s about making them your own.
Practicing Regularly for Improvement
Think of practice like going to the gym for your painting muscles. You wouldn’t expect to run a marathon without training, right? Same idea here. Set aside some time, even if it’s just 15-20 minutes a few times a week, to just play with your brushes. Grab a cheap canvas or even some thick paper and just make marks. Try out that wash stroke, see how thin you can make a line with a round brush, or just experiment with blending. Consistent, focused practice is the fastest way to build muscle memory and confidence. It’s about repetition, but also about paying attention to what happens when you change your pressure or the amount of paint on the brush. You can find some good tips on improving your comfort and control while painting here.
Experimenting with Different Brush Techniques
Don’t get stuck doing the same thing over and over. That’s how you plateau. Try to actively push yourself to use techniques you haven’t tried much before. If you always use flat brushes, grab a filbert or a fan brush and see what happens. Try applying paint thickly one day and very thinly the next. Mix colors directly on the canvas instead of on your palette. The goal here isn’t necessarily to create a masterpiece every time, but to discover new possibilities and understand how different tools and methods affect the final look. It’s about expanding your visual vocabulary.
Seeking Inspiration from Other Artists
Looking at how other people paint can be incredibly motivating and educational. You don’t need to copy them, but observe what they do. How do they create texture? What kind of marks do they make for skies or trees? Websites and books are full of amazing artists. Pay attention to the brushwork specifically. You might see a technique that sparks an idea for your own work. It’s like learning a language; you pick up new words and phrases by listening to others.
Sometimes, the best way to learn is to just let go of the idea of perfection. Embrace the happy accidents and unexpected results that come from trying something new. Those ‘mistakes’ can often lead to the most interesting visual effects.
Keep Painting!
So, you’ve learned about different brushes and how to make them dance on the canvas. Remember, getting good at painting takes time, just like anything else. Don’t get discouraged if your first few tries aren’t perfect. Keep practicing those strokes, try out the projects, and don’t be afraid to mess around with the paint. The more you paint, the more you’ll figure out what works for you and what looks good. Just keep at it, and you’ll see your own style start to show up. Happy painting!
Frequently Asked Questions
What are the main types of paintbrushes for beginners?
For beginners, it’s good to know about a few key brush types. Flat brushes are great for covering big areas and making straight lines. Round brushes are perfect for details and thin lines. Filbert brushes are a mix, good for blending. Fan brushes help make textures like grass or clouds.
How does the age and condition of a brush affect my painting?
New brushes are usually stiff and give clean strokes. Older brushes, even ones that have lost a few hairs or are a bit splayed out, can create more interesting textures and unique marks. Don’t be afraid to use those older brushes; they can add a spontaneous feel to your work!
What’s the difference between using thick and thin paint?
Thick paint, straight from the tube, gives you bold strokes with lots of texture, almost like frosting on a cake. Thin paint, mixed with water or a medium, flows more smoothly and creates softer, blended effects. It’s all about the look you’re going for!
How can I make my brushstrokes more dynamic?
You can make your strokes more interesting by changing how hard you press the brush onto the canvas. Pressing hard makes thick, bold marks, while a lighter touch creates thin, delicate lines. Try varying the pressure even within a single stroke to make it more lively.
What is a ‘wash stroke’ and why is it important?
A wash stroke is a way to cover a large area with a thin, even layer of paint. You use a flat brush and diluted paint, sweeping it across the canvas. It’s a basic technique for laying down color smoothly, like painting a sky or a background.
How often should I practice my brush techniques?
Regular practice is super important! Try to paint often, even if it’s just for a little while. Experimenting with different brushes, strokes, and paint consistencies on scrap paper or canvas will help you get better and find your own style.


Leave a comment