

Thinking about trying something new and creative? Ceramic painting is a really fun way to make cool stuff, whether you’re just starting out or have been around the block a few times. It’s not as complicated as it might seem, and you can end up with some really neat pieces. This guide will walk you through the basics of ceramic painting, from picking out your first piece to putting the finishing touches on your work. Get ready to add some color to your life!
Key Takeaways
- Start with bisque pottery, which is unglazed and ready for paint.
- Gather basic supplies like non-toxic acrylic paints, brushes, and a palette.
- Experiment with different painting methods like sponging, brushing, or using stencils.
- Sketch your design first to plan your ceramic painting.
- Seal your finished piece for protection and a nice finish, and consider kiln firing for durability.
Getting Started with Ceramic Painting
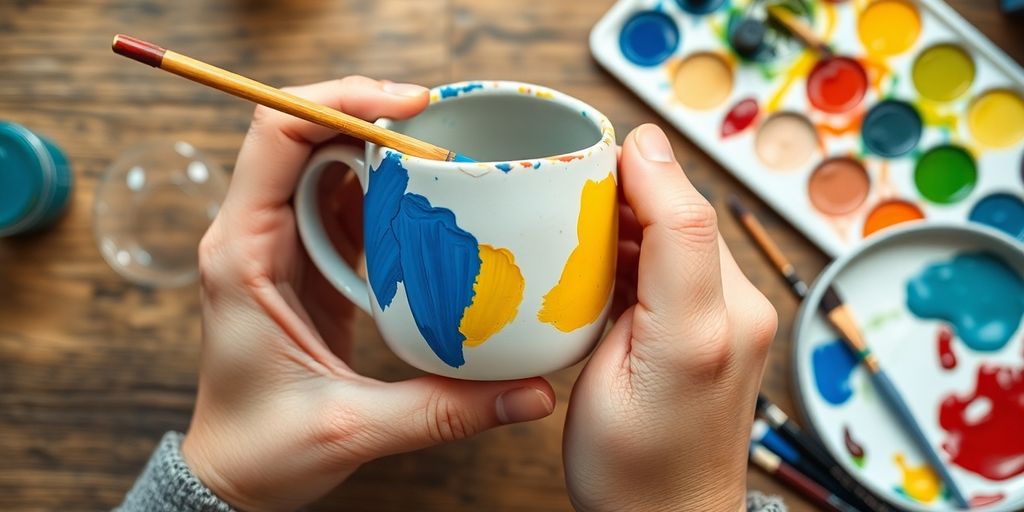
So, you’re ready to jump into the colorful world of ceramic painting! It’s a really rewarding hobby, and honestly, not as complicated as it might seem at first. Think of it as bringing a plain piece of pottery to life with your own hands.
Choosing Your Pottery Piece
When you’re just starting out, it’s best to pick up a piece of pottery that’s already been fired once. These are called ‘bisqued’ pieces. They’re unglazed, so they have a nice surface for paint to stick to. You can find these at local art studios or craft stores. They come in all sorts of shapes and sizes – mugs, bowls, figurines, you name it. For your first go, maybe pick something simple, like a small dish or a plain mug. It gives you a good feel for the process without being too overwhelming. You can even find some great pottery classes for beginners to help you get a feel for different types of clay and projects. Find local pottery classes
Essential Painting Supplies
Gathering your supplies is pretty straightforward. You’ll need:
- Paints: Look for acrylic paints specifically made for ceramics. They’re usually non-toxic and come in a wide range of colors.
- Brushes: A few different sizes will be helpful – a larger one for covering bigger areas and a smaller one for details.
- Palette: This is where you’ll put your paint. An old plate or a plastic palette works fine.
- Water Cup: For rinsing your brushes between colors.
- Paper Towels or Rags: For wiping brushes and cleaning up any spills.
It’s a good idea to have a dedicated space for painting, even if it’s just a corner of a table. Protecting your surfaces is key, as paint can get messy!
Preparing Your Workspace
Before you start painting, set up your area. Cover your table with newspaper or a plastic tablecloth to protect it from paint. Make sure you have good lighting so you can see what you’re doing clearly. Keep your water cup and paper towels within easy reach. If you’re painting something that might drip, like a mug handle, you might want to place it on a piece of cardboard or a tray. This simple setup makes the whole painting process much more enjoyable and less stressful.
Exploring Ceramic Painting Techniques
Once you’ve got your bisque-fired pottery piece and your basic supplies, it’s time to get down to the fun part: actually painting! There are tons of ways to put color and design onto your ceramic surface, and the best part is you don’t need to be a master artist to try them out. Experimenting is really the name of the game here, and you’ll probably discover your own favorite methods as you go.
Brushwork Fundamentals
Using brushes is probably the most common way people think about painting, and it’s no different with ceramics. You’ll want a few different sizes. A larger, flatter brush is good for covering bigger areas with color, like the background of a plate or the body of a vase. Smaller, rounder brushes are perfect for details, like drawing lines, adding dots, or painting fine patterns. Don’t press too hard when you’re painting; let the brush do the work. You can get different effects by how you hold the brush – holding it further back gives you more control, while holding it closer to the bristles can create a looser feel. Always rinse your brushes thoroughly between colors to keep them clean and prevent muddying your paints.
Stenciling and Stamp Applications
If freehand drawing isn’t your strong suit, stencils and stamps are your best friends. You can buy pre-made stencils in all sorts of shapes and patterns, or even cut your own out of sturdy paper or plastic. To use a stencil, just place it firmly on your pottery piece and use a sponge or a stiff brush to dab or lightly brush the paint over it. Peel the stencil off carefully while the paint is still a little wet to get clean lines. Stamps work similarly; you can use rubber stamps or even natural objects like leaves. Just apply paint to the stamp and press it onto the pottery. This is a great way to add repeating patterns or specific images quickly and easily.
Creative Sponge Techniques
Sponges can do more than just clean up! They’re fantastic for creating texture and unique effects on ceramics. You can use a dry sponge to dab color onto the piece, creating a speckled or mottled look. Try using a damp sponge to blend colors together for a soft, watercolor-like effect. You can even cut sponges into different shapes to create your own custom stamps. For a more textured look, try using a sea sponge or a textured kitchen sponge. Just remember to apply the paint to the sponge first, then dab it onto your pottery. It’s a simple way to add depth and visual interest to your work.
Don’t be afraid to mix and match these techniques. You might use a stencil for a main design element and then fill in the background with sponge dabbing. The possibilities are really endless, and the goal is to have fun and make something you love.
Designing Your Ceramic Masterpiece
Sketching Your Vision
Before you even touch a brush, it’s a good idea to have a plan. Grab a sketchbook and start doodling. Think about the shape of your pottery piece and how you want the design to flow with it. Don’t worry about making perfect drawings; these are just for you. You can try out different patterns, motifs, or even just color combinations. It’s like a rough draft for your art. Sometimes, just seeing your ideas on paper can spark even better ones. If you’re looking for inspiration, there are tons of project ideas out there to get your creative juices flowing.
Color Theory for Ceramics
Understanding a bit about color can really make your ceramic pieces pop. Think about how colors make you feel. Warm colors like reds and oranges tend to feel energetic, while cool colors like blues and greens are more calming. When you put colors next to each other, they can affect how they look. For example, a bright yellow will look even brighter next to a dark purple. You don’t need to be an art major to use this, just play around with what looks good to you. Try making a small color chart on a scrap piece of clay to see how different colors look together before you commit to your main piece.
Here’s a simple breakdown:
- Warm Colors: Reds, oranges, yellows. Often feel energetic and inviting.
- Cool Colors: Blues, greens, purples. Tend to feel calm and serene.
- Complementary Colors: Colors opposite each other on the color wheel (like blue and orange). They create a strong contrast.
- Analogous Colors: Colors next to each other on the color wheel (like blue, blue-green, and green). They create a harmonious look.
Don’t be afraid to experiment with color. Sometimes the most unexpected combinations turn out to be the most beautiful. Trust your instincts and have fun with it!
Adding Personal Touches
This is where your piece really becomes yours. Think about what makes you happy or what’s meaningful to you. Maybe it’s a favorite flower, a pattern from a childhood toy, or even a quote that inspires you. You can use fine brushes to write text or draw small details. If you’re feeling adventurous, you could even try using stamps or stencils to create repeating patterns. The goal is to create something that reflects your personality and brings you joy.
Finishing and Firing Your Creations
So, you’ve painted your ceramic piece and it looks fantastic! Now comes the part where you make it permanent and ready for use or display. This involves a couple of key steps: sealing and firing.
The Importance of Sealing
Before you even think about firing, you might want to consider sealing your painted ceramic piece. This isn’t always a mandatory step, especially if you’re using specific ceramic paints designed to be durable on their own. However, sealing can add an extra layer of protection. It helps to prevent chipping, fading, or wear over time, especially if your piece will be handled frequently or exposed to moisture. Think of it like a clear coat on a car – it adds shine and guards against the elements. For pieces that will hold food or be washed, a food-safe sealant is an absolute must. Always check the product instructions for the specific paints and sealants you are using to understand their compatibility and application.
Understanding Kiln Firing
This is where the real magic happens, transforming your painted clay into a durable, finished item. Kiln firing is a process that uses high temperatures to harden the clay and fuse the paint or glaze onto the surface. There are typically two main firing stages:
- Bisque Firing: This is the first firing, done before glazing. It hardens the clay, making it porous and ready to absorb glaze. It also burns out any organic matter within the clay body.
- Glaze Firing: After applying glaze (or in your case, after painting), the piece is fired again at a higher temperature. This firing melts the glaze, creating a glassy, protective, and often decorative surface.
It’s important to know that different types of clay and glazes require different firing temperatures and schedules. If you’re painting on pre-made, kiln-ready pottery, the studio will usually handle the firing for you. They’ll have specific instructions on what types of paints and finishes are compatible with their kilns. If you’re working with air-dry clay, it won’t be fired in a kiln; instead, it hardens through air exposure. However, for that classic ceramic look and durability, kiln firing is the way to go. You can often find local studios that offer kiln firing services for your painted pieces.
Glazing for Durability and Shine
While you’ve already applied your paint, the concept of glazing is closely related and worth understanding. Glazing is essentially applying a liquid glass coating to pottery before firing. It serves multiple purposes: it makes the piece waterproof, adds color and decorative effects, and creates a smooth, durable surface. If your ceramic paints are designed to be used under a clear glaze, then applying a clear, food-safe glaze after your paint has dried is the next step before the glaze firing. This combination gives you the best of both worlds – your painted design protected by a glossy, hard-wearing finish.
Remember that the success of your firing often depends on how well your materials are prepared. Ensure your painted piece is completely dry before it goes into the kiln, and that any glazes are applied evenly and without drips, which can cause pieces to stick together during firing. Patience is key in this stage; rushing can lead to cracked or warped results.
If you’re unsure about the firing process or the compatibility of your paints with glazes, it’s always best to consult with the professionals at the studio where you plan to have your work fired. They can guide you on the best practices to achieve the results you’re hoping for.
The Joy and Benefits of Ceramic Painting
Mindfulness and Stress Relief
Ceramic painting is more than just a craft; it’s a fantastic way to unwind. When you’re focused on mixing colors or carefully applying paint to a piece, the everyday worries tend to fade away. It’s a bit like meditation, really. You get absorbed in the task at hand, and that quiet concentration can be incredibly calming. It’s a chance to slow down and just be present with your creation. Many people find that spending an afternoon painting pottery helps them de-stress after a busy week.
A Creative Outlet for All Ages
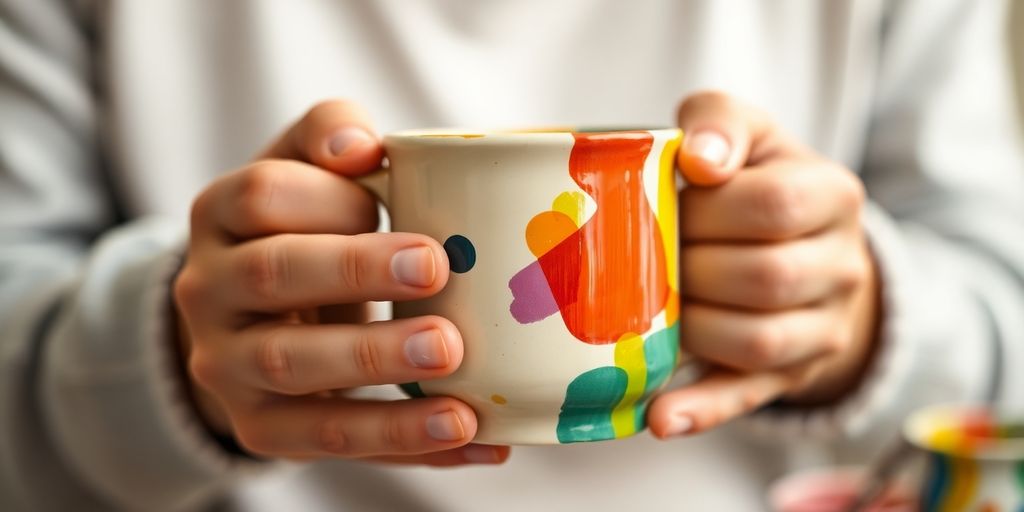
One of the best things about ceramic painting is that it’s accessible to everyone, no matter your age or artistic background. Kids can have a blast making colorful handprint bowls, while adults might enjoy tackling more intricate designs on mugs or vases. It’s a way to express yourself without needing years of formal training. You can experiment with different techniques, try out new color combinations, and really let your personality shine through your work. It’s a rewarding activity that builds confidence with every brushstroke.
Sharing Your Ceramic Art
Once you’ve finished your ceramic masterpiece, you’ll likely want to show it off! Painted pottery makes for wonderful, personalized gifts for friends and family. Imagine giving someone a mug you painted yourself, complete with their favorite colors or a special inside joke. It adds a personal touch that store-bought items just can’t match. Plus, you can join local pottery painting groups or online communities to share your creations, get inspiration from others, and connect with fellow art enthusiasts. It’s a great way to be part of a creative community.
Keep Creating!
So, you’ve got the basics down for painting pottery. It’s a really fun way to make something unique, whether it’s a gift or just for yourself. Don’t worry too much about making it perfect, especially when you’re just starting out. The most important thing is to enjoy the process and let your creativity flow. There are tons of ways to paint, from simple brush strokes to using sponges or even stencils. Grab some paints, find a piece you like, and just have fun with it. You might surprise yourself with what you can create!
Frequently Asked Questions
What kind of pottery should I start with?
For beginners, it’s best to start with bisque pottery pieces. These are unglazed and ready for you to paint. You can find them at local art shops or pottery studios. They come in lots of different shapes and sizes, so you can pick something you really like.
What supplies do I need for ceramic painting?
You’ll need non-toxic acrylic paints, a variety of brushes for different effects, a palette to mix colors on, and some water to clean your brushes. It’s also a good idea to have paper towels or rags handy for wiping up spills or excess paint.
How do I prepare my painting area?
Set up your space with good lighting. Cover your table with newspaper or a plastic cloth to protect it from paint. Make sure you have everything you need within reach so you don’t have to stop and search for supplies while you’re in the creative flow.
Can I paint on pottery without a kiln?
While kiln firing makes the paint permanent and durable, you can use special paints designed for air-dry pottery. These paints create a lovely finish without needing a kiln, though they might not be as long-lasting or food-safe as fired glazes.
What are some simple painting techniques for beginners?
You can start with basic brush strokes, trying different pressures to create varied lines. Sponge painting is also fun and easy – just dab a sponge with paint onto the pottery. Stencils can help you create patterns or shapes quickly and neatly.
How do I make my painted pottery last?
Once your paint is completely dry, you can apply a clear sealant or glaze. This protects the paint, adds a nice shine, and makes the piece more durable. If you’re using paints meant for kiln firing, taking it to a studio for firing is the best way to ensure a lasting finish.


Leave a comment