
Painting the exterior of your house is a big task, but it can make a world of difference. Not only does it freshen up the look of your home, but it also protects it from the elements and can even boost its value. In this guide, we’ll cover the key steps and tips you need to ensure your painting project goes smoothly. Whether you’re a DIY enthusiast or hiring professionals, these insights will help you achieve the best results.
Key Takeaways
- A fresh coat of paint can significantly improve your home’s curb appeal.
- Regular maintenance and timely painting can extend the life of your home’s exterior.
- Choosing the right type of paint is crucial for durability and appearance.
- Proper preparation is key to a successful paint job, including cleaning and repairs.
- Understanding common painting issues can help you troubleshoot effectively.
Understanding The Benefits Of Painting Exterior Of A House
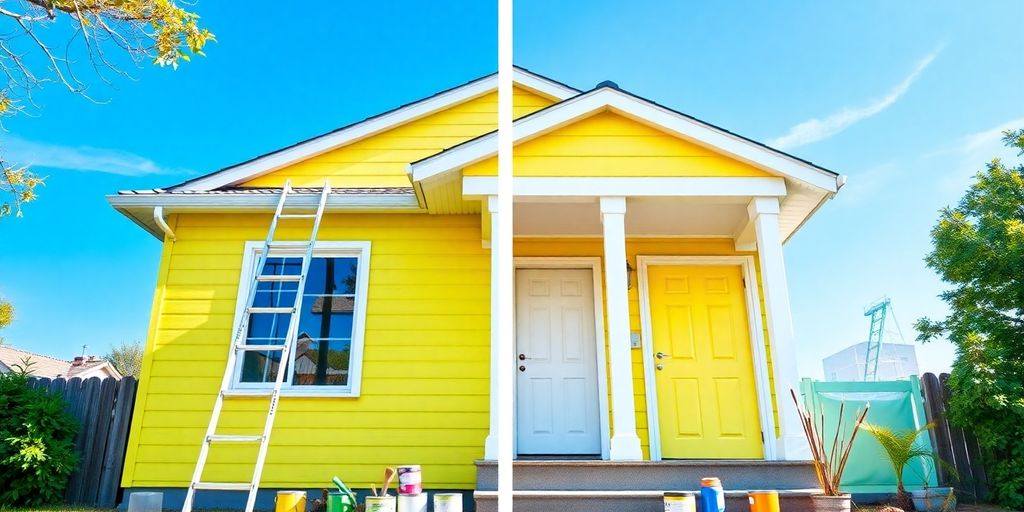
Enhancing Curb Appeal
Let’s be honest, the first thing people see is the outside of your house. A fresh coat of paint can make a HUGE difference. It’s like giving your home a facelift. A well-maintained exterior instantly boosts curb appeal, making your house more attractive to visitors and potential buyers. Think of it as an investment in first impressions. It shows you care about your property, and that can go a long way.
Protecting Against Weather Elements
Your home’s exterior is constantly battling the elements. Sun, rain, wind, snow – it all takes a toll. Paint acts as a shield, protecting your siding from moisture, UV rays, and other damaging factors. Without that protection, you could be looking at some serious problems down the road, like rot, decay, and expensive repairs. Think of exterior paint as a barrier against the elements.
Increasing Property Value
Want to add some value to your home? A fresh paint job is one of the easiest and most cost-effective ways to do it. Not only does it make your house look better, but it also signals to potential buyers that the home is well-maintained. A well-maintained home is a valuable home. Plus, it can prevent moisture from getting in, which can cause mold and other issues. So, it can save you money in the long run. It’s a win-win.
Painting the exterior isn’t just about aesthetics; it’s about protecting your investment and ensuring your home stands the test of time. It’s a proactive measure that can save you money and headaches in the long run.
Identifying The Right Time For Painting
Knowing when to paint the exterior of your house is just as important as knowing how to paint it. You don’t want to waste time and money painting at the wrong time, or when it’s not needed. Let’s get into it.
Signs Your Home Needs a Fresh Coat
One of the most obvious signs is visual. Keep an eye out for peeling, cracking, or fading paint. These are clear indicators that the existing paint job is failing and it’s time for a new one. Don’t ignore these signs, as they can lead to bigger problems down the road. Also, check for these:
- Blistering: Small bubbles under the paint film.
- Chalking: A powdery residue on the surface.
- Mold or Mildew: Discoloration, often greenish or black, indicating moisture problems.
Ignoring these signs can lead to more serious issues like wood rot or water damage, which can be far more expensive to repair than a simple paint job. Addressing paint issues early can save you money and headaches in the long run.
Factors Affecting Paint Longevity
How long your paint job lasts depends on a few things. The climate plays a big role. Homes in areas with harsh weather conditions, like intense sun or frequent rain, will need repainting more often. The quality of the paint also matters. Cheaper paints might not last as long as higher-quality ones. Surface preparation is another key factor. If the surface wasn’t properly cleaned and primed, the paint is more likely to fail sooner. Here’s a quick rundown:
| Factor | Impact |
|---|---|
| Climate | Harsh weather reduces lifespan. |
| Paint Quality | Higher quality lasts longer. |
| Surface Preparation | Proper prep extends lifespan. |
| Paint Type | Some paints are more durable than others exterior paint. |
Seasonal Considerations
Timing is everything when it comes to exterior painting. The best time to paint is when the weather is mild and dry. Avoid painting in extreme heat or cold, as this can affect how the paint adheres and dries. Spring and fall are often ideal times, but it depends on your local climate. Here are some things to keep in mind:
- Temperature: Most paints require temperatures between 50°F and 85°F for proper application.
- Humidity: High humidity can slow down drying time and cause problems with adhesion.
- Rain: Avoid painting if rain is in the forecast, as it can wash away the paint or cause it to blister. Plan your painting schedule accordingly.
Choosing The Best Exterior Paint
Okay, so you’re ready to paint. Awesome! But before you even think about picking up a brush, you’ve gotta figure out what paint to use. It’s not as simple as grabbing the cheapest can at the store. The right paint can make or break your project, so let’s get into it.
Types Of Exterior Paint
There are two main types of exterior paint: water-based (latex or acrylic) and oil-based. Honestly, for most situations, acrylic latex paint is the way to go. It’s more durable, flexible, and easier to work with than oil-based paints. Plus, it resists fading, peeling, and blistering better, and it’s easier to clean up. Oil-based paint still has its uses, like on high-traffic areas like porch floors or metal railings, because it repels water well. But for the majority of your house, stick with acrylic latex.
Evaluating Paint Quality
Don’t skimp on quality! I know it’s tempting to save a few bucks, but cheaper paints just don’t hold up as well. They fade faster, don’t adhere as well, and you’ll end up repainting sooner. Look for paints with titanium dioxide pigments and a high solids content (at least 45% by weight). Also, make sure it says "100% acrylic" or that the ingredients list acrylic polymer. These paints will resist weathering better. There are also paint upgrades available that are rated higher in terms of color retention and durability.
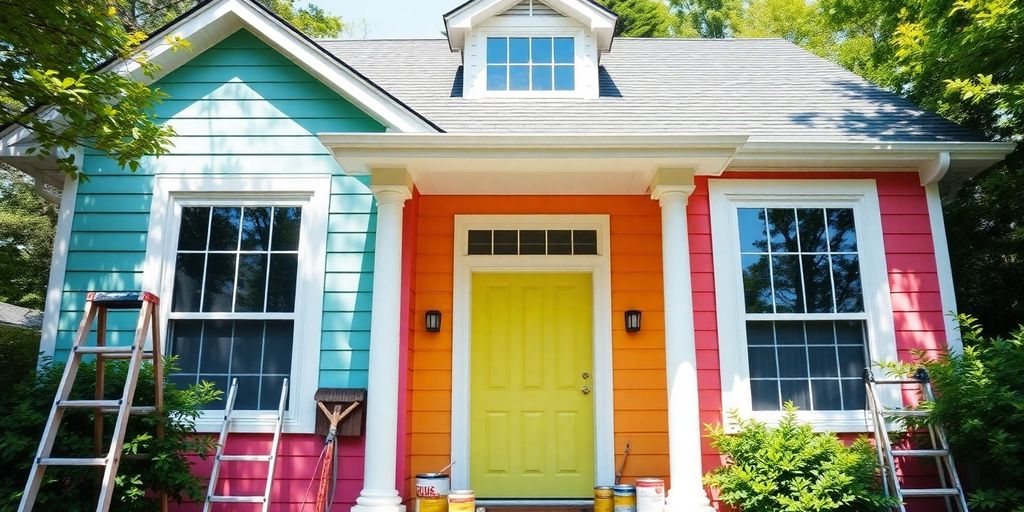
Color Selection Tips
Choosing a color can be overwhelming, I get it. Here’s what I usually tell people:
- Consider your neighbors: You don’t want your house to clash with everything else on the street.
- Think about the surroundings: Does your house have a lot of trees around it? A bright color might look out of place.
- Factor in fixed elements: The color of your roof, stonework, or brick will influence your choice.
- Match the architectural style: A Victorian house calls for different colors than a modern ranch.
Before you commit, buy some sample cans and paint large swatches on different sides of your house. Look at them at different times of day and in different weather conditions. Colors can look totally different depending on the light.
Calculating Paint Quantity
Figuring out how much paint you need can be tricky. Here’s a simple way to estimate:
- Measure the perimeter of your house.
- Measure the height of your house.
- Multiply the perimeter by the height.
- Subtract the total area of doors and windows.
- Divide the result by the square footage per gallon listed on the paint can. This will give you a rough estimate of how many gallons you’ll need. It’s always better to buy a little extra than to run out in the middle of the job!
Preparing Your Home For Painting
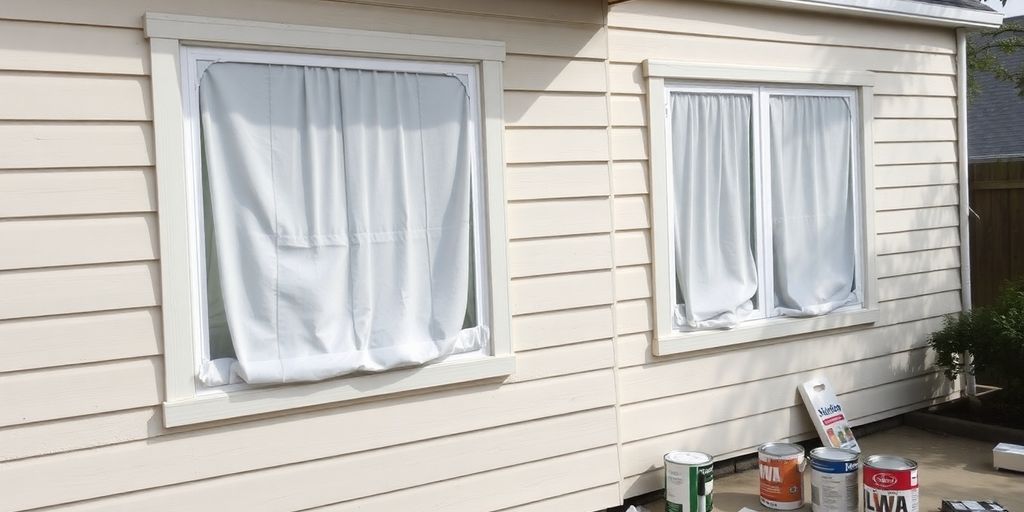
Before you even think about dipping a brush into paint, getting your house ready is super important. It’s like prepping a canvas before you start painting – you wouldn’t just slap paint on a dirty, uneven surface, right? Same goes for your house. Proper prep work makes the paint job last longer and look way better. Trust me, skipping this step is a recipe for disaster.
Cleaning The Surface
First things first, you gotta clean. Think of all the dirt, grime, mildew, and loose paint that’s built up over time. That stuff will prevent the new paint from sticking properly. You can use a power washer if you’re comfortable with it, but be careful not to damage anything. If you’re not experienced, a regular hose and scrub brush will do the trick.
Here’s a simple cleaning solution you can use:
- 1 gallon of water
- 1 cup of chlorine bleach
- 1 cup of concentrated cleaner
Make sure to protect your plants with drop cloths and give them a good watering beforehand. Rinse everything thoroughly after scrubbing and let it dry completely before moving on.
Repairing Damaged Areas
Next up, repairs. Look for any cracks, holes, or rotted wood. These need to be fixed before you start painting. Use caulk to seal cracks around windows and doors. Replace any damaged wood. If you don’t, moisture can get in and cause even more problems down the road. Plus, the paint won’t adhere well to damaged surfaces, leading to peeling and blistering.
Gathering Necessary Tools
Finally, gather all your tools and supplies. This includes:
- Paint brushes and rollers
- Paint trays and liners
- Drop cloths
- Painter’s tape
- Scrapers and wire brushes
- Sandpaper
- Caulk and caulking gun
- Ladders
- Safety glasses and gloves
Having everything you need on hand will make the painting process much smoother and more efficient. There’s nothing worse than having to stop in the middle of a project to run to the store for something you forgot. It’s a good idea to make a checklist beforehand to make sure you don’t miss anything. Don’t forget to grab some quality paint too!
Applying Proper Painting Techniques
Okay, so you’ve prepped everything, picked out your paint, and now it’s time for the fun part – actually painting! But hold on, there’s more to it than just slapping some color on the wall. How you apply the paint makes a huge difference in how it looks and how long it lasts. Let’s get into the nitty-gritty.
Techniques For Different Surfaces
Different materials need different approaches. Makes sense, right? You wouldn’t treat wood the same way you treat brick. The key is understanding the surface you’re working with.
- Wood Siding: After cleaning and priming, paint in the direction of the wood grain. Overlap each stroke for even coverage. This helps prevent streaks and ensures the paint really gets into all those little nooks and crannies.
- Brick and Masonry: These surfaces are porous, so you might need a special masonry primer. Use a roller for the big areas and a brush for the mortar lines. Make sure you get paint made for masonry; it sticks better.
- Vinyl and Aluminum Siding: These are easier to prep, but still need a good cleaning. Again, use paint made for these materials. And a big tip: don’t pick a color that’s way darker than the original, especially for vinyl. It can warp from the extra heat it absorbs.
Using Brushes vs. Rollers
Brushes and rollers each have their strengths. It’s not really an either/or situation; often, you’ll use both.
- Brushes: Great for detail work, trim, and getting into tight spots. They give you more control.
- Rollers: Perfect for large, flat surfaces. They cover a lot of ground quickly. But you might still need a brush to get into corners or textured areas.
Some people like using paint sprayers, but those can be tricky. They’re fast, but you need to be careful about overspray and drips. Plus, you end up using more paint. If you go that route, make sure you mask off everything you don’t want to paint and wear a mask. For exterior painting, brushes and rollers are often the way to go for DIYers.
Layering Paint For Best Results
Don’t skimp on the coats! One coat usually isn’t enough, no matter how good the paint is. Think of it like this:
- Primer: This is your base. It helps the paint stick and covers up any stains or imperfections.
- First Coat: This gets you most of the way there, but it’s probably not going to be perfect.
- Second Coat: This is the money coat. It evens everything out, gives you full color, and adds extra protection.
Make sure you let each coat dry completely before you start the next one. Rushing it is just going to lead to problems down the road. Also, working in the shade can help prevent the paint from drying too quickly and causing issues like brush strokes.
Best Practices For A Successful Paint Job
Planning Your Painting Schedule
Okay, so you’re ready to paint. Awesome! But hold up – don’t just grab a brush and go wild. Planning is super important for a paint job that lasts. Think about the weather, your free time, and how much daylight you’ll have. Rushing things is a recipe for disaster. I usually block out a few weekends, just in case things take longer than expected. Also, consider the order you’ll paint things in. It’s usually best to start from the top and work your way down, so drips don’t mess up already-painted areas.
Safety Precautions
Painting can be dangerous, especially if you’re working high up. Here’s the deal:
- Always use a sturdy ladder. Seriously, don’t risk it with a wobbly one. Make sure it’s on level ground. I’ve seen too many accidents.
- Wear safety glasses and gloves. Paint splatters are annoying, but chemicals in some paints can be harmful.
- If you’re using a sprayer, wear a mask. You don’t want to breathe in those fumes. Trust me on this one.
- Keep kids and pets away from the work area. Paint is not a snack, and you don’t want them getting hurt.
Working safely is not just a suggestion; it’s a must. Take your time, use the right equipment, and don’t cut corners. A little extra caution can prevent a lot of pain and trouble.
Post-Paint Maintenance Tips
So, you’ve finished painting! Congrats! But the job’s not quite over. To keep your house looking great, you need to do some maintenance. Here’s what I do:
- Inspect the exterior caulk every year and fix any cracks. Water damage is a paint’s worst enemy.
- Wash off any dirt or mildew. A gentle scrub with soap and water can do wonders.
- Touch up any chips or scratches as soon as you see them. Don’t let them get worse.
- Consider the weather. Mild weather and low humidity are ideal conditions for exterior painting:
| Weather Condition | Ideal Range |
|---|---|
| Humidity | Below 60% |
| Rain | No rain for 24 hours |
| Temperature | 50°F – 85°F |
By following these tips, you can extend the life of your paint job and keep your house looking its best for years to come.
Troubleshooting Common Painting Issues
Okay, so you’ve painted your house, and now you’re seeing some problems. Don’t panic! Most painting issues are fixable, though it might take a little elbow grease. Let’s look at some common problems and how to tackle them.
Dealing With Peeling Paint
Peeling paint is a super common issue, and it’s usually a sign that something wasn’t quite right with the prep work. It often indicates moisture trapped beneath the paint or poor adhesion to the surface. Here’s what you can do:
- Scrape off all the loose, peeling paint. Get it all off, even if it seems like a lot.
- Sand the area smooth. You want to feather the edges so the repair blends in.
- Prime the bare wood or siding. Use a good quality exterior primer.
- Repaint the area. Make sure to use the same type of paint as the original coat.
Sometimes, peeling paint is a sign of a bigger problem, like a leaky roof or damaged siding. If you keep having issues with peeling paint in the same spot, it’s worth investigating further.
Addressing Blistering Problems
Blisters are those annoying little bubbles that pop up in your paint. They’re usually caused by moisture trying to escape through the paint film. Here’s how to handle them:
- Identify the source of the moisture. Is it coming from inside the house, or is it rainwater getting behind the siding?
- Scrape or sand away the blisters. Get rid of any loose paint.
- Let the area dry completely. This might take a few days, depending on the weather.
- Prime and repaint. Again, use a good quality exterior primer and paint.
Fixing Color Fading
Color fading is just a bummer. The sun’s UV rays can really do a number on exterior paint, especially darker colors. Here’s what you can do to minimize and fix it:
- Use high-quality paint. Cheaper paints tend to fade faster. Look for paints with UV protection.
- Choose lighter colors. Darker colors absorb more heat and are more prone to fading. Consider color selection tips to help you choose the right shade.
- Repaint the faded areas. Unfortunately, sometimes the only solution is to repaint. If the fading is severe, you might need to repaint the entire surface for a uniform look.
Here’s a quick guide to help you diagnose the problem:
| Problem | Possible Cause(s) | Solution |
|---|---|---|
| Peeling Paint | Moisture, poor prep, incompatible paint | Scrape, sand, prime, repaint |
| Blisters | Moisture trapped under the paint | Find the source of moisture, scrape, dry, prime, repaint |
| Color Fading | UV exposure, low-quality paint | Use better paint, choose lighter colors, repaint |
Wrapping It Up
So there you have it! Painting the outside of your house is a big job, but with the right prep and a bit of know-how, you can totally nail it. Remember to pick the right paint, ask the right questions if you’re hiring someone, and take your time with the prep work. It might feel like a lot, but trust me, it pays off in the end. Your home will look fresh and stay protected from the elements. Just keep these tips in mind, and you’ll be well on your way to a successful painting project. Happy painting!
Frequently Asked Questions
What are the main benefits of painting my house’s exterior?
Painting the outside of your house makes it look better and protects it from bad weather like rain and sun. It can also help increase your home’s value.
How do I know when it’s time to repaint?
Look for signs like peeling, cracking, or faded paint. If you see these, it’s likely time for a new coat.
What type of paint should I use for the exterior?
Water-based paints, like acrylic latex, are usually the best for outside surfaces because they’re durable and easy to clean.
How should I prepare my house before painting?
Make sure to clean the outside of your house, fix any damage, and gather all the tools you’ll need before starting.
What techniques should I use when painting?
Start from the top and work your way down. Use a brush for edges and a roller for large areas to get even coverage.
What should I do if I notice problems after painting?
If you see peeling or blistering, scrape off the loose paint, sand the area, and repaint it to fix the problem.


Leave a comment