
Painting cabinets might seem like a big job, but with a little know-how and the right tools, it’s totally doable—even for beginners. Whether you’re sprucing up your kitchen or giving your bathroom a fresh look, learning how to painting cabinets can completely transform your space. This guide will walk you through every step, from prepping your cabinets to adding those finishing touches, so you can get that polished, professional look.
Key Takeaways
- Proper preparation makes all the difference—clean, sand, and prime your cabinets for the best results.
- Choosing the right paint and tools ensures durability and a smooth finish.
- Apply thin, even coats of paint and allow proper drying time between layers.
- Experiment with colors, finishes, and decorative techniques to add a personal touch.
- Avoid rushing the process; patience leads to a more professional and long-lasting result.
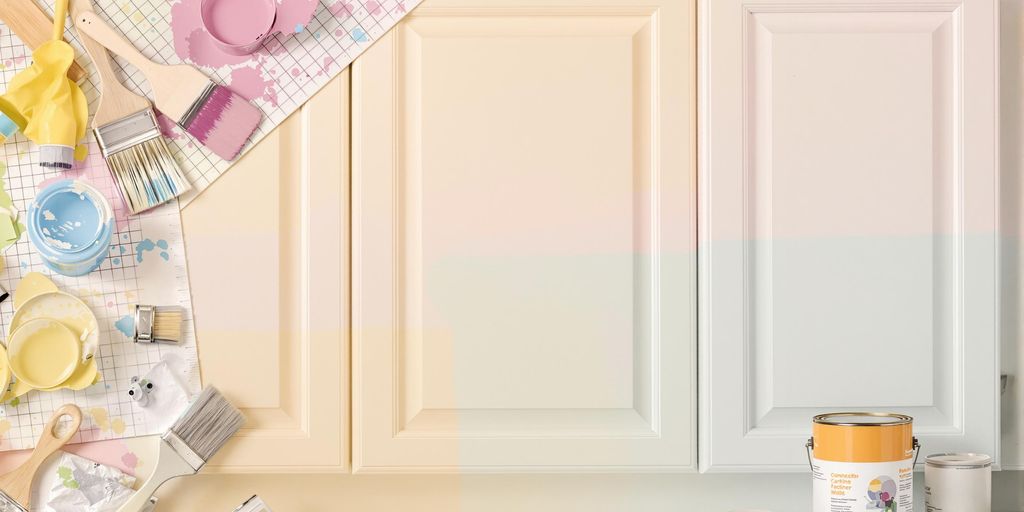
Preparing Your Cabinets for Painting
Removing Hardware and Doors
First things first, you’ll want to take off all the hardware—handles, knobs, hinges—and remove the cabinet doors. This makes painting way easier and ensures a more even finish. Put all the screws and hardware in labeled bags so you don’t lose track of what goes where. Trust me, you don’t want to be hunting for a missing hinge later. Lay the doors flat on a work surface or sawhorses so you can paint them without drips.
Sanding for a Smooth Surface
Next, grab some sandpaper. Start with medium-grit, like 120, to rough up the surface and knock off any old paint or varnish. If your cabinets have peeling paint or a glossy finish, this step is non-negotiable. After that, switch to a finer grit, like 220, to smooth things out. Sanding helps the paint stick better and prevents chipping down the road. Use a vacuum or tack cloth to clean up all the dust when you’re done.
Cleaning to Remove Dust and Grease
Before you even think about painting, clean those cabinets thoroughly. Mix up a mild detergent with warm water or grab a heavy-duty degreaser if your cabinets are in the kitchen. Wipe everything down with a sponge or cloth, paying extra attention to corners and edges where grease loves to hide. Let them dry completely before moving on to priming or painting. Skipping this step? Big mistake—it’ll mess with how the paint adheres.
Choosing the Right Paint and Tools
Selecting the Best Paint for Cabinets
When it comes to painting cabinets, not all paints are created equal. Picking the right type of paint can make or break the project. For cabinets, you’ll want a durable paint that can withstand daily wear and tear. Look for paints labeled as "cabinet-grade" or "trim paint," as these are formulated to resist chipping and are easy to clean. Semi-gloss or satin finishes are popular choices because they provide a balance of durability and aesthetic appeal. If you’re painting over a dark surface, consider a paint-and-primer combo to save time and effort.
Essential Tools for a Professional Finish
Having the right tools on hand can make the job smoother and the results more polished. Here’s a quick checklist to get you started:
- Foam Roller: Ideal for large, flat surfaces.
- Angled Brush: Perfect for corners and detailed edges.
- Drop Cloths: To protect your floors and countertops.
- Painter’s Tape: Ensures clean lines and protects areas you don’t want painted.
- Sandpaper (60-grit and 360-grit): For prepping the surface.
Investing in quality tools will save you frustration and deliver a better finish. No one wants to pick stray bristles out of their paint or deal with uneven coverage.
Understanding Primer Types and Uses
Primer is your secret weapon for a flawless cabinet paint job. It creates a smooth base and helps the paint adhere better. If you’re covering a dark or glossy surface, a high-adhesion primer is a must. For lighter cabinets, a stain-blocking primer can prevent any old stains from bleeding through the paint. Make sure to let the primer dry completely before applying your first coat of paint. Skipping primer might save you time upfront, but it could lead to peeling or uneven paint down the road.
A little extra effort with the right tools and primer can save you a lot of headaches later. It’s worth the prep to get that showroom-quality finish.
Mastering Painting Techniques
Using Brushes vs. Sprayers
When it comes to painting cabinets, the tools you use can make all the difference. Brushes are great for detail work, like corners or intricate designs, while sprayers are ideal for achieving a super smooth finish across large, flat surfaces. Sprayers can save time and deliver a flawless look, but they require more prep and cleanup. If you’re going with brushes, invest in high-quality synthetic ones to avoid streaks and bristle marks. For sprayers, practice on scrap material first to perfect your technique.
Applying Thin Coats for Even Coverage
Thick coats of paint might seem like a shortcut, but they’re a recipe for disaster. Always apply thin, even layers instead. This helps prevent drips, uneven textures, and sagging paint. Plan for at least two to three coats, letting each one dry completely before moving to the next. It takes patience, but the result is a professional-looking, durable finish that’s worth the effort.
Techniques to Avoid Drips and Streaks
Drips and streaks are the bane of any painting project. To avoid them, follow these tips:
- Don’t overload your brush or roller with paint; less is more.
- Use long, even strokes when brushing, always going with the grain of the wood.
- If you spot a drip, smooth it out immediately with a clean, dry brush.
- For sprayers, maintain a consistent distance from the surface and keep your hand moving to avoid pooling paint.
Take your time and focus on each section. Rushing through the process often leads to mistakes that are tough to fix later.
Adding a Custom Touch to Your Cabinets
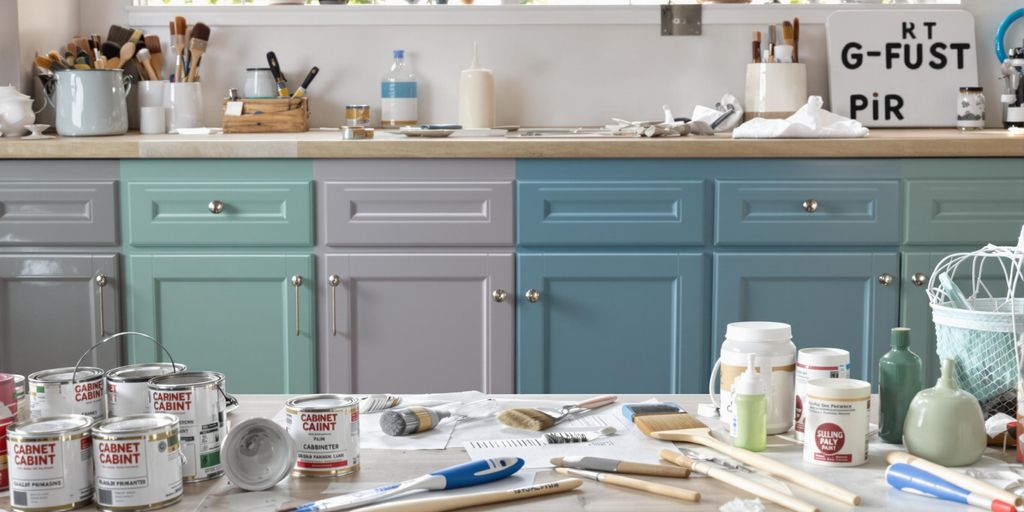
Experimenting with Colors and Finishes
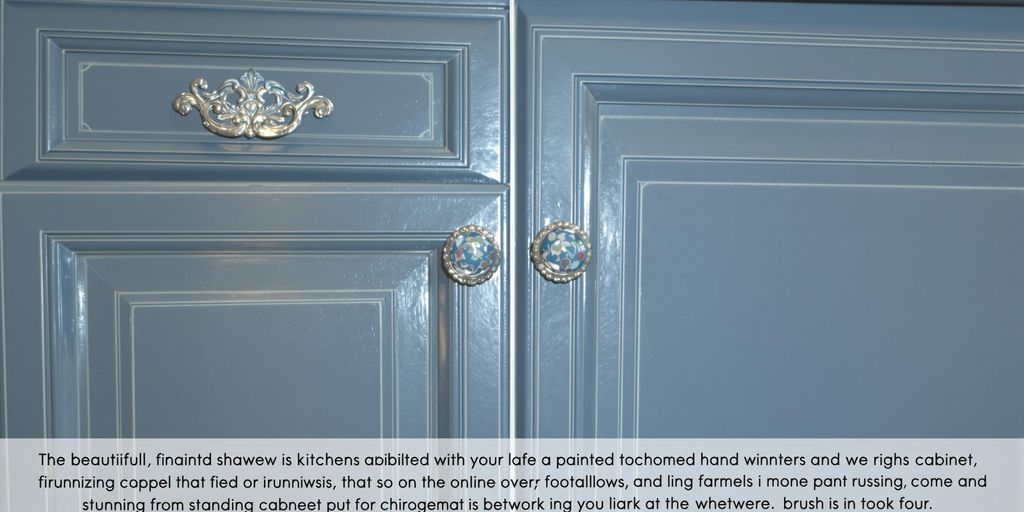
Looking to make your cabinets stand out? Playing with colors and finishes can give your kitchen or bathroom a completely unique vibe. For a subtle, sophisticated look, try layering neutral tones like soft whites and grays. If you’re feeling bold, deep blues or forest greens can add dramatic flair. Matte finishes lend a modern feel, while gloss or semi-gloss can make surfaces pop. Don’t just stop at paint—consider mixing finishes for added depth. For example, pair matte cabinet doors with glossy trim for a striking contrast.
Incorporating Decorative Techniques
Why not get a bit creative? Decorative techniques like stenciling, dry brushing, or sponging can add personality to your cabinets. Stenciling works well for adding intricate patterns or borders, while dry brushing gives a rustic, weathered look. Sponging, on the other hand, can create soft, textured effects. These techniques take a little patience, but they’re worth it for the custom feel they bring. Pro tip: Practice on scrap wood before diving into your cabinets!
Using Glazes for Depth and Texture
Glazes are a game-changer when it comes to adding dimension. You can use them to highlight details like grooves or raised panels, giving your cabinets a rich, textured appearance. A dark glaze over a light base coat creates a vintage, antique look, while a light glaze over dark paint can soften the overall tone. Just remember to work quickly—glazes dry fast! Apply with a brush and wipe away excess with a clean cloth for the best results.
Taking the time to personalize your cabinets not only makes them feel uniquely yours but also adds character to your entire space. Small touches can make a big impact!
Caring for Your Newly Painted Cabinets
Allowing Proper Drying Time
The first step in caring for your freshly painted cabinets is patience. Let the paint cure properly before putting the cabinets to full use. While the surface may feel dry to the touch within a few hours, it can take up to a week—or even longer—for the paint to fully cure, depending on the type of paint used. During this time, avoid heavy use or attaching hardware that could scratch or chip the finish.
Cleaning and Maintenance Tips
To keep your cabinets looking fresh, clean them regularly but gently. Use a soft cloth or sponge with warm water and a mild detergent. Avoid abrasive cleaners or harsh chemicals like bleach, as they can damage the paint. Here’s a quick cleaning guide:
| Cleaning Method | Suitable For | Avoid |
|---|---|---|
| Soft cloth and water | Daily dust and smudges | Excessive scrubbing |
| Mild detergent and water | Grease or stubborn spots | Bleach or ammonia-based products |
| Microfiber cloth | Polishing the surface | Steel wool or rough sponges |
Protecting the Finish for Longevity
Taking extra steps to protect the finish can make a big difference in how long your cabinets look great. Apply a clear protective topcoat if you haven’t already—it adds an extra layer of defense against scratches and stains. Be mindful of sunlight exposure too; prolonged direct sunlight can cause some paints to fade or discolor. If your cabinets are in a sunny spot, consider adding window treatments or UV-blocking film to nearby windows.
A little extra care goes a long way. By being gentle and proactive, you can enjoy your beautifully painted cabinets for years to come.
Common Mistakes to Avoid When Painting Cabinets
Skipping Surface Preparation
Neglecting to prepare your cabinets properly is one of the biggest mistakes you can make. Before you even think about picking up a paintbrush, take the time to remove all hardware, sand the surfaces, and clean them thoroughly. Leftover grease, dirt, or dust will prevent the paint from adhering properly, leading to peeling or uneven finishes. Preparation is the foundation of a durable and professional-looking paint job.
Steps to prepare:
- Remove all cabinet doors and hardware.
- Sand the surfaces lightly to create a texture for the paint to grip.
- Clean with a degreaser to ensure no residue remains.
Using the Wrong Type of Paint
Not all paints are created equal, and choosing the wrong one can ruin your project. For cabinets, you’ll want a durable, high-quality paint designed to withstand daily wear and tear. Avoid flat or matte finishes, as they are harder to clean and less resistant to stains. Instead, go for semi-gloss or satin finishes, which offer a balance of durability and aesthetic appeal.
| Paint Type | Durability | Ease of Cleaning |
|---|---|---|
| Flat/Matte | Low | Hard |
| Semi-Gloss | High | Easy |
| Satin | Medium | Moderate |
Rushing Between Coats
Patience is key when painting cabinets. Applying a second coat before the first one has fully dried can lead to smudges, uneven textures, or even peeling over time. Always follow the manufacturer’s recommended drying times, which can vary depending on the type of paint you’re using. If you’re unsure, waiting at least 24 hours between coats is a safe bet.
"Rushing the process can undo all your hard work. Slow and steady wins the race when it comes to cabinet painting."
By avoiding these common mistakes, you’ll set yourself up for success and achieve a finish that looks professional and lasts for years. For more insights on avoiding pitfalls like skipping primer or rushing the drying process, check out achieving a successful kitchen cabinet painting project.
Wrapping It All Up
Painting cabinets might seem like a big job, but with the right prep and a little patience, it’s totally doable. Whether you’re going for a sleek modern look or something more rustic, the key is taking your time and following the steps. From sanding and priming to picking the right tools, every little detail adds up to a finish you’ll be proud of. And hey, don’t stress if it’s not perfect—imperfections can add character. So grab your brushes, roll up your sleeves, and get started. Your cabinets are about to look amazing!
Frequently Asked Questions
Do I need to remove cabinet doors before painting?
Yes, it’s best to remove cabinet doors and hardware before painting. This helps you achieve a smoother finish and makes it easier to paint all surfaces evenly.
What type of paint should I use for cabinets?
Use high-quality, durable paint specifically designed for cabinets or furniture. Satin, semi-gloss, or gloss finishes work well because they are easy to clean.
Is sanding necessary before painting cabinets?
Yes, sanding is important. It creates a surface that the paint can stick to and helps remove any old finishes or imperfections.
How long should I wait between coats of paint?
You should wait at least 24 hours between coats to ensure the first coat is completely dry. Always follow the paint manufacturer’s instructions for the best results.
What tools are essential for painting cabinets?
You’ll need a good-quality brush, a foam roller, sandpaper, painter’s tape, and a primer. A paint sprayer can also be helpful for larger projects.
How can I prevent streaks and drips while painting?
Apply thin, even coats of paint and avoid overloading the brush or roller. Work slowly and carefully to ensure smooth coverage without drips or streaks.


Leave a comment