
Ever looked at your living room and thought it could use a little something? A splash of color might be just what you need. Painting your home’s interior is one of the easiest and most affordable ways to breathe new life into your space. Whether you’re a DIY enthusiast or a newbie, this guide will walk you through the steps of interior painting, from picking the right colors to mastering the brush techniques. Let’s get started on transforming your space into something fresh and exciting.
Key Takeaways
- Painting your interior can refresh your home’s look without breaking the bank.
- Choosing the right color and finish is crucial for the room’s vibe.
- Proper preparation, like cleaning and priming, makes a big difference.
- Using the right tools and techniques leads to a professional finish.
- Regular maintenance keeps your painted surfaces looking new longer.
Understanding the Impact of Color in Interior Design
The Psychology of Color
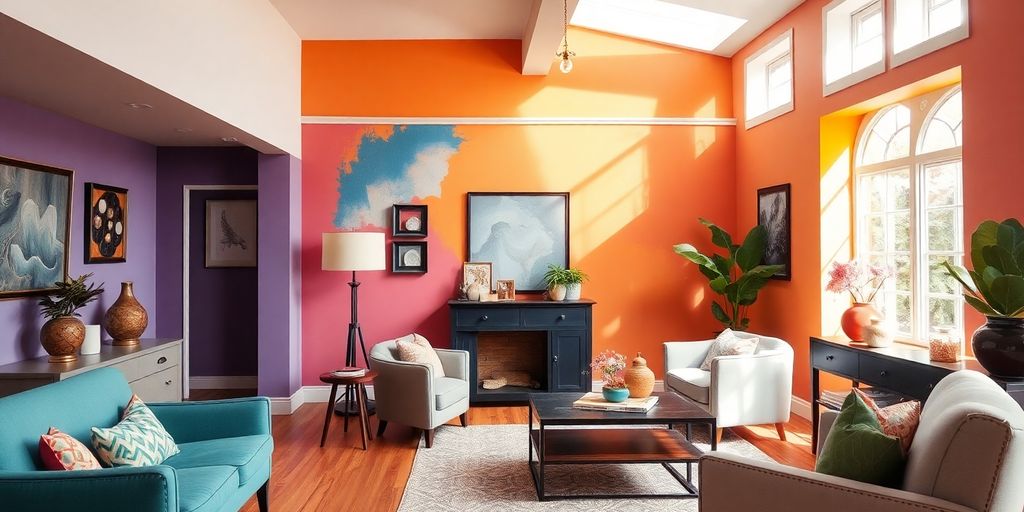
Color isn’t just about aesthetics; it’s a powerful tool that can evoke emotions and set the mood of a room. Different colors can influence how we feel and behave. For example, blues and greens are often calming and can create a peaceful environment, while reds and yellows are more energetic and can stimulate conversation and excitement. When choosing colors for your home, consider the emotional impact you want to achieve in each space.
Choosing the Right Palette for Your Space
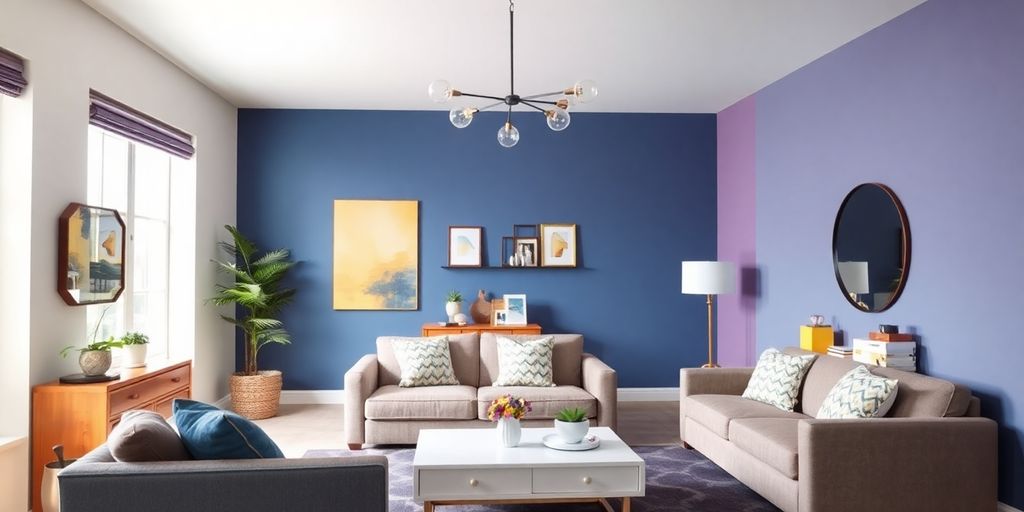
Selecting the perfect color palette for your home involves more than just picking your favorite hues. Start by considering the function of each room. For instance, you might want a soft, neutral palette in the bedroom to promote relaxation, while a vibrant, bold scheme could work well in a lively kitchen. Don’t forget to take into account existing furniture and decor to ensure a harmonious look. A well-chosen palette can unify your home’s design and create a cohesive flow from room to room.
How Lighting Affects Paint Color
Lighting plays a crucial role in how paint colors look in a space. Natural light can change the appearance of a color throughout the day, while artificial lighting can either enhance or dull its vibrancy. It’s essential to test paint samples in different lighting conditions to see how they will truly appear. Consider both the type of light bulbs and the amount of natural light a room receives when selecting your paint colors. This will help ensure that your chosen colors maintain their intended look and feel throughout the day.
Essential Tools and Materials for Interior Painting
Must-Have Painting Supplies
Getting ready to paint your interior? You’ll need the right gear to make the job easier and more efficient. Here’s a list of must-have painting supplies to get you started:
- Paintbrushes: You’ll want a few different sizes. A 1-2" brush for small trims, a 3" angled brush for cutting in, and a 4" flat brush for large areas.
- Paint Rollers and Covers: Rollers are great for covering large surfaces quickly. Make sure to get the right nap for your surface—1/4" for smooth walls and 3/4" for textured surfaces.
- Painter’s Tape: Essential for protecting edges and creating clean lines.
- Drop Cloths or Plastic Sheeting: To protect floors and furniture from splatters and spills.
- Paint Tray and Liners: Makes loading your roller easy and keeps cleanup simple.
Selecting the Best Paint for Your Needs
Choosing the right paint can feel overwhelming with so many options out there. Here’s what to consider:
- Finish: Decide between flat, eggshell, satin, or gloss. Flat hides imperfections well, while gloss is easy to clean.
- Type: Latex paints are popular for their easy clean-up and durability, but oil-based paints can offer a smoother finish.
- Coverage: Check how much area a can of paint will cover to avoid running out mid-project.
Eco-Friendly and Sustainable Options
If you’re looking to be kind to the planet while sprucing up your space, consider eco-friendly paints. These options are often low in volatile organic compounds (VOCs), which are better for indoor air quality.
- Low-VOC Paints: These emit fewer chemicals and are safer for indoor use.
- Natural Paints: Made from ingredients like clay, milk, and natural pigments.
- Recycled Paints: Produced from leftover paints, they are a sustainable choice.
When selecting your supplies, remember that a little investment in quality tools can make a big difference in the final result. Painting isn’t just about color—it’s about creating a space that feels like home.
Step-by-Step Guide to Preparing Your Space for Painting
Clearing and Protecting Your Space
Before you even think about opening that paint can, it’s crucial to clear out your space. Start by moving furniture out of the room if possible. If not, push it to the center and cover it with drop cloths. This helps avoid those dreaded paint splatters on your favorite couch. Don’t forget to remove wall hangings and curtains, too. Protect your floors with sturdy drop cloths or plastic sheeting. Trust me, drips happen no matter how careful you are.
Repairing and Priming Surfaces
Next, take a good look at your walls. If they’re anything like mine, they might need some TLC. Fill in those pesky nail holes and cracks with a spackling compound. For bigger holes, you might need a wall patch kit. Once everything is patched up and dry, sand the surfaces smooth. This prep work ensures the paint adheres properly and looks great.
Ensuring Proper Ventilation
Finally, make sure the room is well-ventilated. Open windows and doors to let fresh air in, especially if you’re using oil-based paints. Ventilation isn’t just about comfort; it’s about safety, too. You don’t want to be breathing in those fumes for hours on end. If you can, set up a box fan to help circulate the air.
Preparing your space might seem tedious, but it’s a step you really shouldn’t skip. A little effort upfront saves you from headaches later and helps achieve that professional finish you’re aiming for.
Following these steps will set you up for a successful painting project. It’s all about making sure your space is ready so you can focus on the fun part—transforming your room with color!
Mastering Painting Techniques for a Professional Finish
Brush and Roller Techniques
Achieving a professional finish in your home painting projects often hinges on mastering the basics of brush and roller techniques. Brushes are ideal for cutting in edges and corners, where precision is key. Use angled brushes for detailed areas and flat brushes for broader strokes. For larger surfaces, rollers are your best friend. Start by loading your roller with paint, ensuring it’s evenly coated but not dripping. Roll the paint onto the wall in a "W" or "M" shape, then fill in the gaps with horizontal strokes. This method helps distribute the paint evenly, reducing streaks and ensuring a smooth finish.
Creating Accent Walls and Patterns
Accent walls can dramatically change the look and feel of a room. To create one, choose a bold color that complements the rest of the room’s palette. Use painter’s tape to outline the area you want to highlight. For patterns, such as stripes or chevrons, measure and mark your design lightly with a pencil. Apply the paint carefully within the taped areas to maintain sharp lines. Patterns add depth and interest, making the space feel more dynamic.
Avoiding Common Painting Mistakes
Even seasoned painters can make mistakes, but knowing what to watch out for can save you time and frustration. One common error is skipping the primer, especially when transitioning from dark to light colors. Primer ensures better paint adhesion and a more uniform color. Another mistake is overloading the brush or roller, which can lead to drips and uneven coverage. Finally, avoid painting in poor lighting; it can lead to missed spots and uneven application. Ensure your workspace is well-lit, and always test paint colors in different lighting conditions before committing. For more detailed preparation techniques, contact Mr. Moles for expert guidance.
Taking the time to properly prepare and apply your paint can transform a simple room into a stunning space. Remember, patience and attention to detail are your best tools for achieving that perfect finish.
Maintaining and Caring for Painted Surfaces
Cleaning and Touch-Up Tips
Keeping your painted walls looking fresh doesn’t have to be a chore. Start with a gentle cleaning routine using mild soap and warm water. This combo works wonders for removing everyday grime while being kind to the paint. For tougher spots, a soft sponge can help, but remember to avoid harsh scrubbing to keep the paint intact. Regular dusting with a microfiber cloth can also help prevent dirt buildup.
When it comes to touch-ups, the key is blending. Before you start, make sure you have the same paint color and finish. Use a small brush for precision and feather the edges to blend seamlessly with the existing paint. If you’re not sure about the color, test it on a hidden spot first.
Dealing with Paint Damage
Paint damage can happen for various reasons—furniture bumps, moisture, or just time. For minor scratches or chips, a quick touch-up with matching paint usually does the trick. But for more serious issues like peeling or bubbling, you’ll need to dig deeper. Start by scraping off the damaged area, sanding it smooth, and applying a primer before repainting. This preps the surface and ensures the new paint sticks well.
When to Repaint Your Interior
Knowing when to repaint can save you time and effort. Generally, high-traffic areas like hallways and kitchens might need a refresh every 3-5 years. Rooms with less use, like guest bedrooms, can go longer. Keep an eye out for signs like fading, cracking, or if the paint just doesn’t clean up well anymore. These are good indicators that it’s time for a new coat. Repainting not only revives the look but also protects your walls from wear and tear.
Keeping painted surfaces in top shape is all about regular care and knowing when to act. With a bit of maintenance, your walls can stay vibrant and welcoming for years.
Exploring Creative Painting Ideas for Unique Interiors
Using Stencils and Murals
Want to add some flair to your walls? Stencils and murals can be your best friend. Stencils offer a way to create intricate designs without the hassle of freehand painting. You can find stencils in various patterns, from geometric shapes to floral designs. Murals, on the other hand, allow you to transform a whole wall into a piece of art. Whether you choose to paint a serene landscape or a bold abstract design, murals can make a room truly unique.
- Start by selecting a theme or image that resonates with you.
- Consider the room’s function and existing decor when choosing colors.
- Use a projector to outline your mural design on the wall for accuracy.
Incorporating Textures and Finishes
Textures and finishes can dramatically change the look and feel of a room. Textured paint can add depth and warmth, making a space feel cozy and inviting. Some popular techniques include sponging, rag rolling, and combing. Each method gives a different finish, so you can tailor the texture to your taste.
- Sponging: Use a sea sponge to dab paint onto the wall for a soft, textured effect.
- Rag Rolling: Roll a rag over wet paint to create a marbled look.
- Combing: Drag a comb through the paint to create a lined pattern.
Mixing and Matching Colors
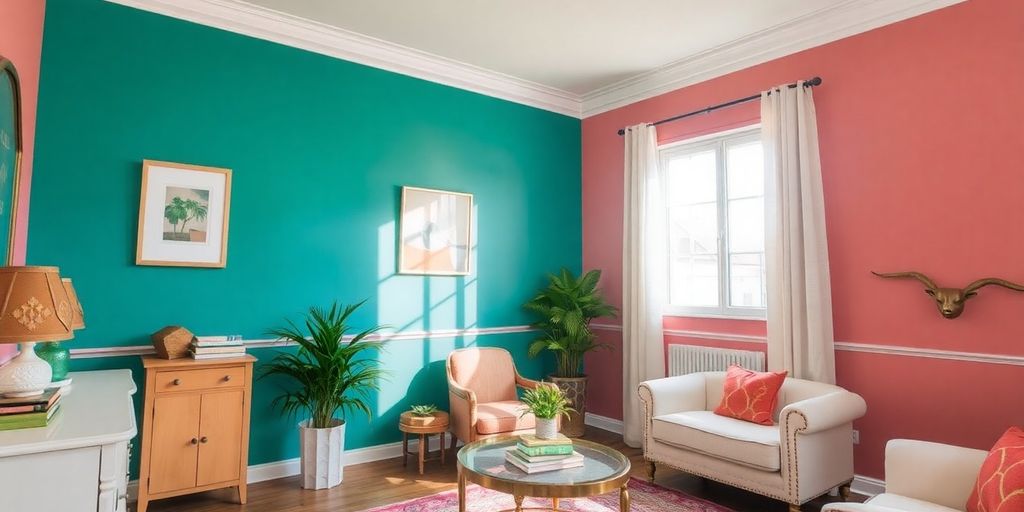
Mixing and matching colors isn’t just about picking your favorite shades; it’s about creating harmony in your space. Consider the mood you want to set in each room. For a calming effect, choose colors that are close to each other on the color wheel, like blues and greens. For a more vibrant look, opt for contrasting colors like yellow and purple.
- Use a color wheel to find complementary colors.
- Test color combinations with small swatches before committing.
- Balance bold colors with neutral tones to avoid overwhelming the space.
Painting is more than just changing colors; it’s about expressing your personality and creating a space that feels like home. With a bit of creativity and the right techniques, you can turn any room into a masterpiece.
For more inspiration on how to enhance your home’s personality through creative paint ideas, remember to think outside the box and explore different styles for walls, furniture, and even flooring.
Wrapping It Up
So there you have it, folks! Painting your space isn’t just about slapping some color on the walls—it’s a whole process that can really change the vibe of your home. Whether you’re going for a bold new look or just freshening things up, remember that a little planning goes a long way. Don’t rush it. Take your time picking the right colors and finishes, and make sure you prep those walls properly. It might seem like a lot of work, but trust me, the payoff is worth it. You’ll end up with a space that feels new and totally you. So grab that brush and get started on your painting adventure. Happy painting!
Frequently Asked Questions
What tools do I need for painting a room?
To paint a room, you’ll need brushes, rollers, painter’s tape, drop cloths, a paint tray, and sandpaper. Don’t forget the paint!
How do I choose the right paint color?
Consider the mood you want. Light colors make a room feel bigger, while dark colors add coziness. Test samples to see how they look in different lights.
What’s the best way to prepare a room for painting?
Move furniture, cover floors with drop cloths, and clean the walls. Patch any holes and tape off areas you don’t want painted.
How can I avoid streaks when painting?
Use even strokes and don’t overload your brush or roller with paint. Let each coat dry before adding another.
How often should I repaint my walls?
Most walls need repainting every 5-7 years, but high-traffic areas might need it sooner.
What type of paint finish should I use?
For walls, eggshell or satin finishes work well. Use semi-gloss for kitchens and bathrooms because it’s easier to clean.


Leave a comment