

Spray painting can be a fun and creative way to give new life to your belongings. Whether you’re working on a small craft project or a larger piece of furniture, knowing some essential spray paint tips can help you achieve a beautiful finish every time. This guide will walk you through important steps and techniques to ensure your spray painting projects are successful.
Key Takeaways
- Choose the right spray paint for your surface to ensure a smooth finish.
- Always spray paint in a well-ventilated area to avoid inhaling harmful fumes.
- Prepare your project by cleaning and priming the surface for better paint adhesion.
- Apply multiple thin coats instead of one thick coat to prevent drips and runs.
- Wear protective gear and handle spray paint cans carefully for safety.
Choosing the Right Spray Paint for Your Project
Understanding Different Spray Paint Types
Alright, so first things first, let’s talk about the different types of spray paint. You got your basic ones: acrylic, enamel, and lacquer. Each one has its own thing going on. Acrylics dry super fast and are great for quick projects. Enamels, on the other hand, are more durable, so they’re perfect for stuff that needs to last. Lacquers give you that glossy, professional finish but can be tricky if you’re not careful. Picking the right type depends on what you’re painting and how long you want it to last.
Selecting the Appropriate Finish
Now, when it comes to finishes, you’ve got a few options: matte, satin, and gloss. Matte is non-reflective and hides surface imperfections, while gloss is shiny and makes colors pop. Satin is kinda in between, offering a bit of shine without being too flashy. Think about the look you’re going for and where the piece will be used. For example, a gloss finish might be awesome for a modern art piece but too much for a rustic coffee table.
Considering Environmental Factors
Finally, don’t forget about the environment. If you’re working outside, check the weather. Spray paint doesn’t do well in extreme temperatures or humidity. Too hot or too cold, and the paint might not stick right. Also, if you’re painting something that will be outside, like garden furniture, you’ll want a paint with UV protection to keep it from fading. Remember, the right conditions can make or break your project.
Preparing Your Workspace and Materials
Ensuring Proper Ventilation
First off, you gotta make sure you’re not breathing in all those nasty fumes. Spray paint can really stink up the place, so it’s best to work in a well-ventilated area. If you’re indoors, crack open some windows and maybe set up a fan to keep the air moving. Working outside? Even better. Just make sure it’s not too windy, or you’ll end up with paint everywhere but where you want it.
Protecting Surrounding Areas
Spray paint has a mind of its own, so you gotta protect the stuff you don’t want painted. Grab some old newspapers or a drop cloth and cover the floor and any nearby furniture. If you’re working on something small, a cardboard box can be your best friend. Just pop your project inside and spray away. And don’t forget to tape off any parts of your project that should stay paint-free. Trust me, you’ll thank yourself later.
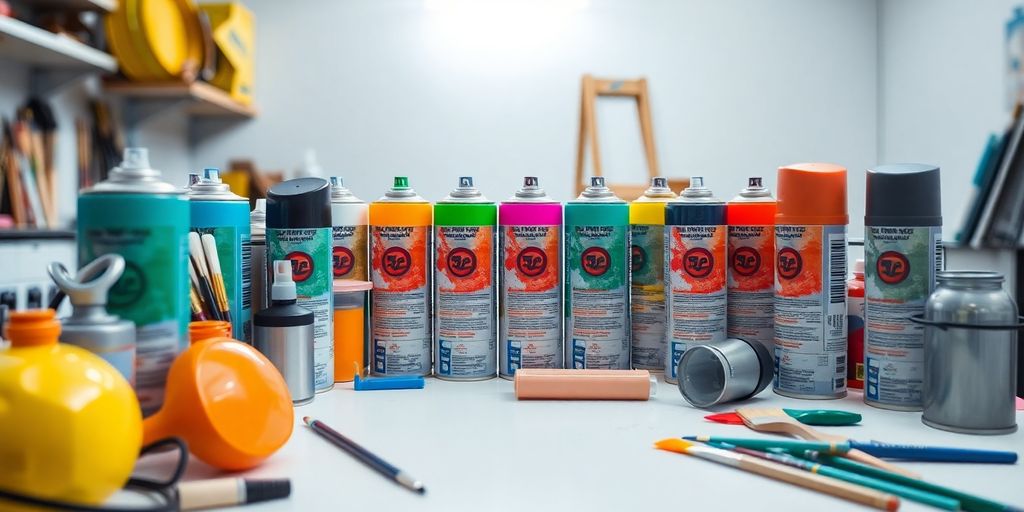
Gathering Necessary Tools and Supplies
Before you start, make sure you’ve got all your gear ready. Here’s a quick list to keep you on track:
- Spray paint cans (obviously!)
- Primer, if needed
- Painter’s tape
- Drop cloths or newspapers
- A mask to keep those fumes out
Having everything within reach means you won’t have to stop mid-project to hunt down a missing item. Plus, it’ll make the whole process a lot smoother. And remember, a little prep work goes a long way in making sure your final result looks top-notch.
Mastering Spray Painting Techniques
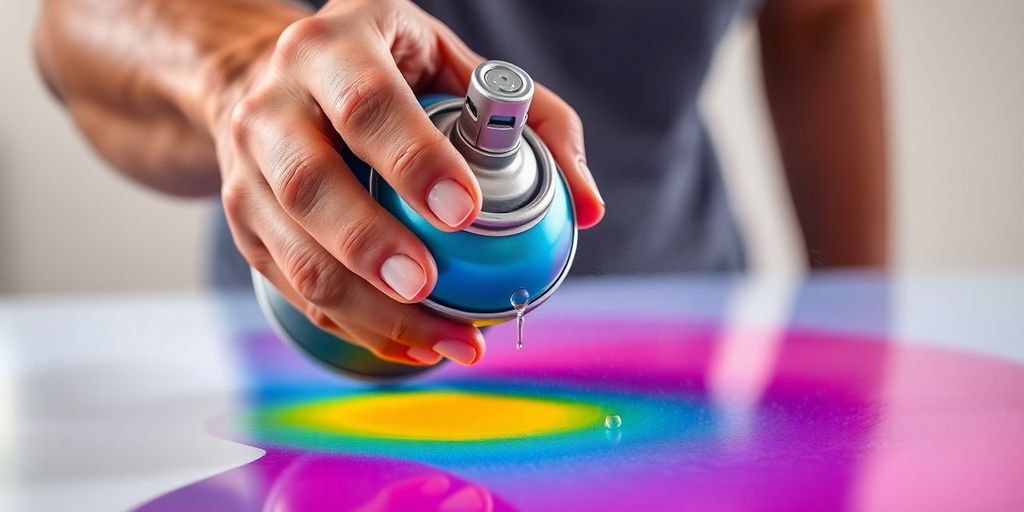
Maintaining Consistent Distance and Speed
Alright, so when you’re spray painting, you gotta keep that can the same distance from your project the whole time. Think of it like mowing the lawn—steady and even. If you get too close, you’ll end up with drips, and nobody wants that mess. Keep it moving at a nice, even pace to avoid piling up too much paint in one spot.
Applying Multiple Thin Coats
Here’s the deal: don’t try to cover everything in one go. It’s tempting, but resist the urge. Instead, go for several thin coats. Let each coat dry a bit before you hit it with another layer. This way, you avoid sagging and drips, and your finish will look way better.
Avoiding Common Mistakes
- Too close or too slow: Keep a steady hand and a consistent distance.
- Skipping surface prep: Always clean and prime your surface before painting.
- Ignoring drying times: Let each layer dry before adding more paint.
Spray painting isn’t rocket science, but it does take a bit of practice to nail down. Keep at it, and soon you’ll be a pro with a can in your hand. If you mess up, no biggie—just sand it down and try again.
For more tips on mastering spray paint application, make sure to prep your surface and mask off areas you don’t want painted. It’s all about the setup for that perfect finish.
Troubleshooting Common Spray Painting Issues
Dealing with Drips and Runs
So, you’ve got drips and runs in your paint job? Annoying, right? Here’s what you can do:
- Sand it down: Once the paint is dry, sand the drips lightly with fine-grit sandpaper.
- Repaint the area: Apply a thin coat of paint over the sanded area.
- Watch your technique: Keep the spray can at a steady distance and move it evenly to avoid this next time.
Addressing Uneven Coverage
Getting an even coat can be tricky. If your coverage looks patchy, here’s the fix:
- Apply more thin coats: Instead of one thick coat, go for several thin ones.
- Overlap your strokes: Make sure each pass overlaps the last slightly.
- Check your angle: Sometimes changing the angle helps cover those missed spots.
Fixing Clogged Nozzles
Clogged nozzles are the worst, but you can handle it:
- Clean the nozzle: After each use, turn the can upside down and spray until only gas comes out.
- Wipe it down: Use a cloth with a bit of paint thinner to clean the nozzle.
- Replace if needed: If it’s too clogged, just grab a new nozzle.
Even with careful planning, spray painting can sometimes go sideways. Patience and practice are your best friends in getting that smooth finish. Learn more about common challenges and solutions to keep improving your spray painting skills.
Finishing and Protecting Your Painted Surface
Applying a Clear Top Coat
Alright, so you’ve got your paint job looking pretty sweet, but now you gotta make sure it stays that way. A clear top coat is your best friend here. This extra layer can really help keep those nasty chips and scratches at bay. Plus, it makes your paint job look even better. You can choose from glossy, satin, or matte finishes depending on what vibe you’re going for.
Sanding Between Coats for Smoothness
Now, if you’re aiming for that ultra-smooth finish, you might wanna sand between coats. Grab some fine-grit sandpaper and give it a light rub. This helps get rid of any dust or little bumps that sneak in during drying. Just remember to wipe away any dust before you slap on the next coat, or else you’ll just be trapping it in there.
Ensuring Long-lasting Durability
To keep your masterpiece looking fresh, regular maintenance is key. Give it a gentle clean now and then with some soap and water. And, hey, avoid those pressure washers, alright? They can mess up your paint faster than you can say "Oops!" Keeping it clean helps maintain that long-lasting durability you worked so hard for. Check out this tip for more on keeping your painted surfaces in top shape.
Safety Tips for Spray Painting
Wearing Protective Gear
So, you’re ready to spray paint, huh? Well, first things first, protect yourself. You gotta wear the right gear. Start with a good mask or respirator to keep those nasty fumes out of your lungs. A simple dust mask might work if you’re outside, but inside, go for the respirator. Don’t forget gloves and safety glasses. Trust me, you don’t want paint all over your hands or, worse, in your eyes.
Handling Spray Paint Cans Safely
Next up, handling those cans. Shake them well, like for a good two minutes. Set a timer if you need to. It mixes the paint right. Hold the can at the right distance, usually around 6-8 inches from what you’re painting. Too close and you’ll get drips, too far and it’ll look all patchy.
Disposing of Materials Properly
Finally, let’s talk about cleaning up. You can’t just toss these things in the trash. Check your local rules about disposing of paint cans. Some places have special drop-offs or recycling programs. And always, always let the can empty out before you chuck it. It’s safer that way.
Remember, being safe isn’t just about following rules. It’s about making sure you can keep creating without any hiccups. Stay safe and paint on!
Enhancing Your Spray Painting Skills
Practicing on Test Surfaces
Alright, so you’re diving into the world of spray painting and want to get better at it. The first thing you gotta do is practice on test surfaces. Grab some cardboard or an old piece of wood you don’t care about and start spraying. This way, you can mess around without screwing up your main project. It’s like a dress rehearsal for your spray can!
Experimenting with Different Techniques
Don’t just stick to one way of doing things. Try different techniques to see what works best. Maybe try varying the distance from the surface or changing up the speed of your strokes. You’ll find that different techniques can give you different finishes. It’s all about finding what suits your style.
Learning from Mistakes
Mistakes happen, man. Maybe you end up with drips or uneven coverage. Instead of getting bummed out, use it as a learning moment. Figure out what went wrong and how you can fix it next time. Every mistake is just a stepping stone to getting better. Keep at it, and soon you’ll be nailing those spray paint projects like a pro.
Final Thoughts on Spray Painting
In conclusion, mastering spray painting can truly elevate your DIY projects. By following these essential tips, you can achieve beautiful, smooth finishes every time. Remember to prepare your surfaces well, choose the right paint, and apply it in thin layers for the best results. Don’t forget to practice your technique and be patient with the process. With time and experience, you’ll become more confident in your spray painting skills. So grab your spray can and let your creativity shine!
Frequently Asked Questions
What type of spray paint should I use for my project?
Choose spray paint that fits the material you’re painting, like wood, metal, or plastic. Ask for help at your local store if you’re unsure.
How do I prepare my space for spray painting?
Make sure to work in a well-ventilated area. Open windows or use fans to keep air flowing and protect nearby surfaces with drop cloths.
How can I avoid drips when spray painting?
Hold the spray can about 6 to 10 inches away from the surface and apply thin coats. It’s better to do several light layers than one thick one.
What should I do if my spray paint is uneven?
If you notice uneven spots, let the paint dry, then lightly sand the area and apply another thin coat.
How can I protect my painted surface after I’m done?
Once your paint is dry, apply a clear top coat to protect it from scratches and fading.
What safety gear should I wear while spray painting?
Always wear a mask, gloves, and safety glasses to protect yourself from fumes and paint splatters.


Leave a comment